Category: woodworking
-
A Cutting Board, A Cut
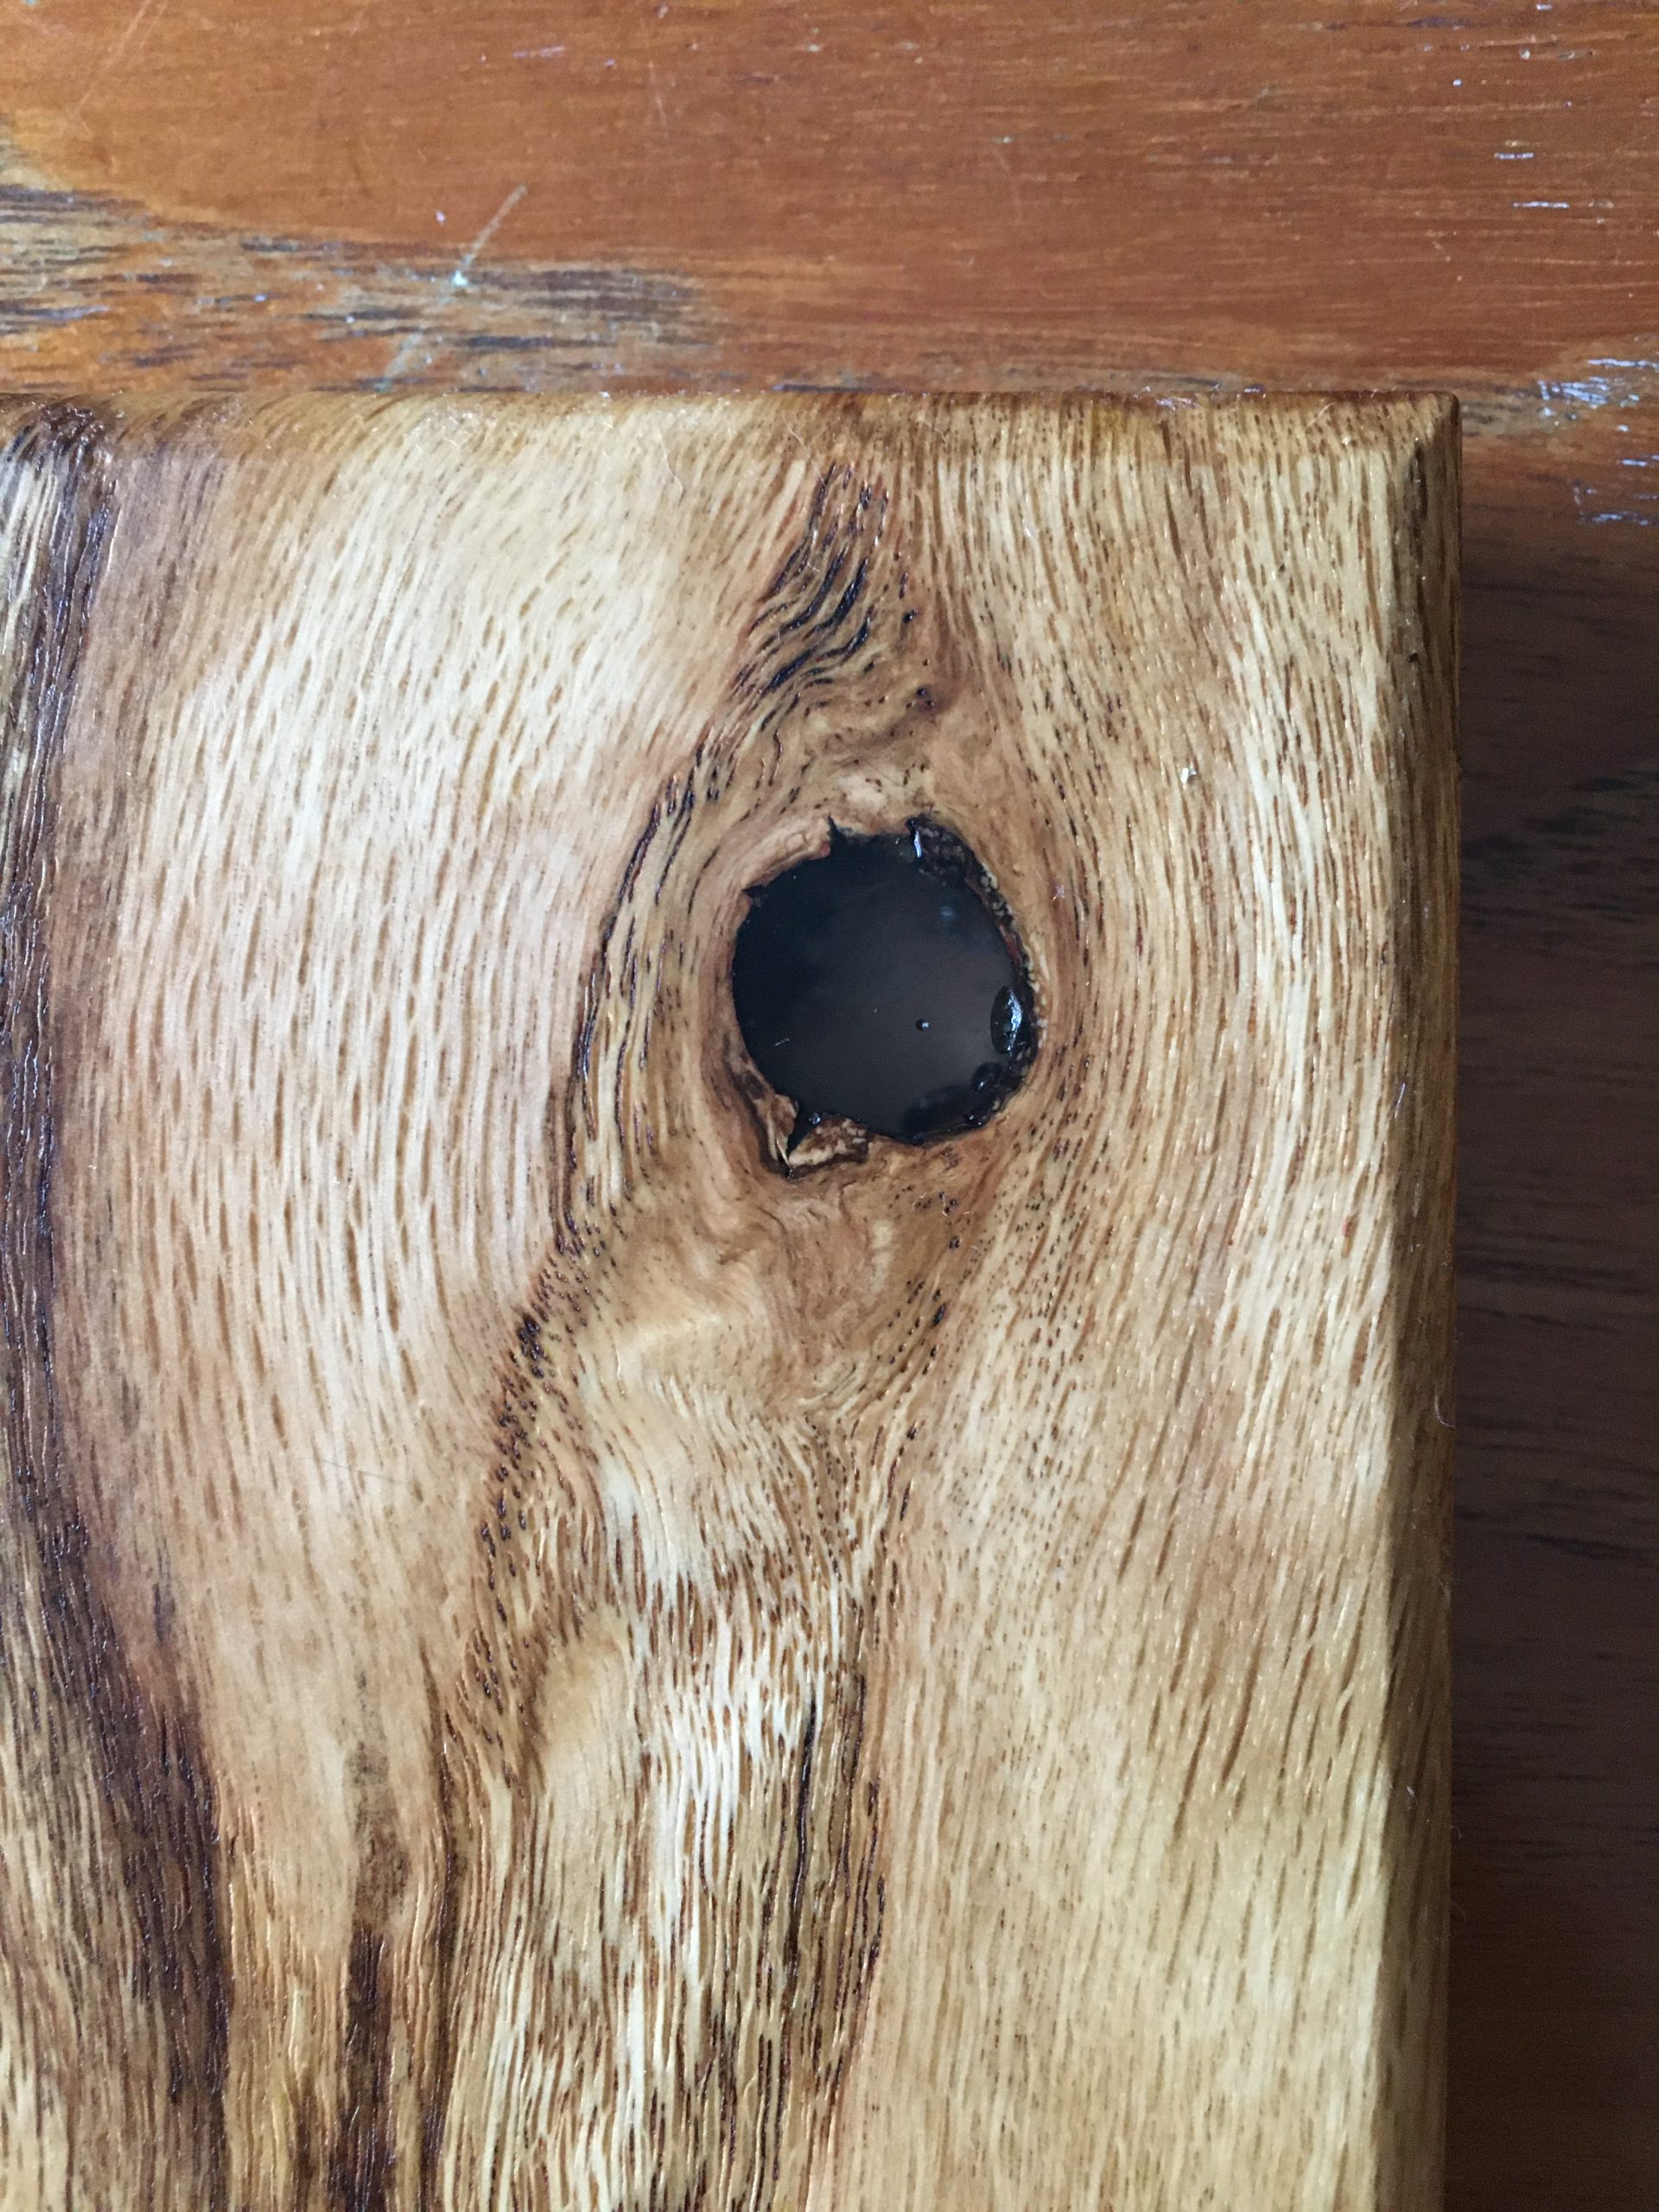
A Cutting Board Finished this cutting board yesterday. Made from oak and walnut. I love the grain on this, it’s wild and varied and unexpected. Measures about 8″x12″ with rounded corners and two usable sides. The knot at the top is filled in with clear epoxy, which worked well and is a nice detail. I’m…
-

Charcuterie Board
For Thanksgiving we volunteered to bring a charcuterie board. Naturally that meant I needed to make the actual board itself in addition to us bringing the things that went on it. Here’s the front and back of the finished board. Determining which is the front and which is the back is left as an exercise…
-
Live Edge Table
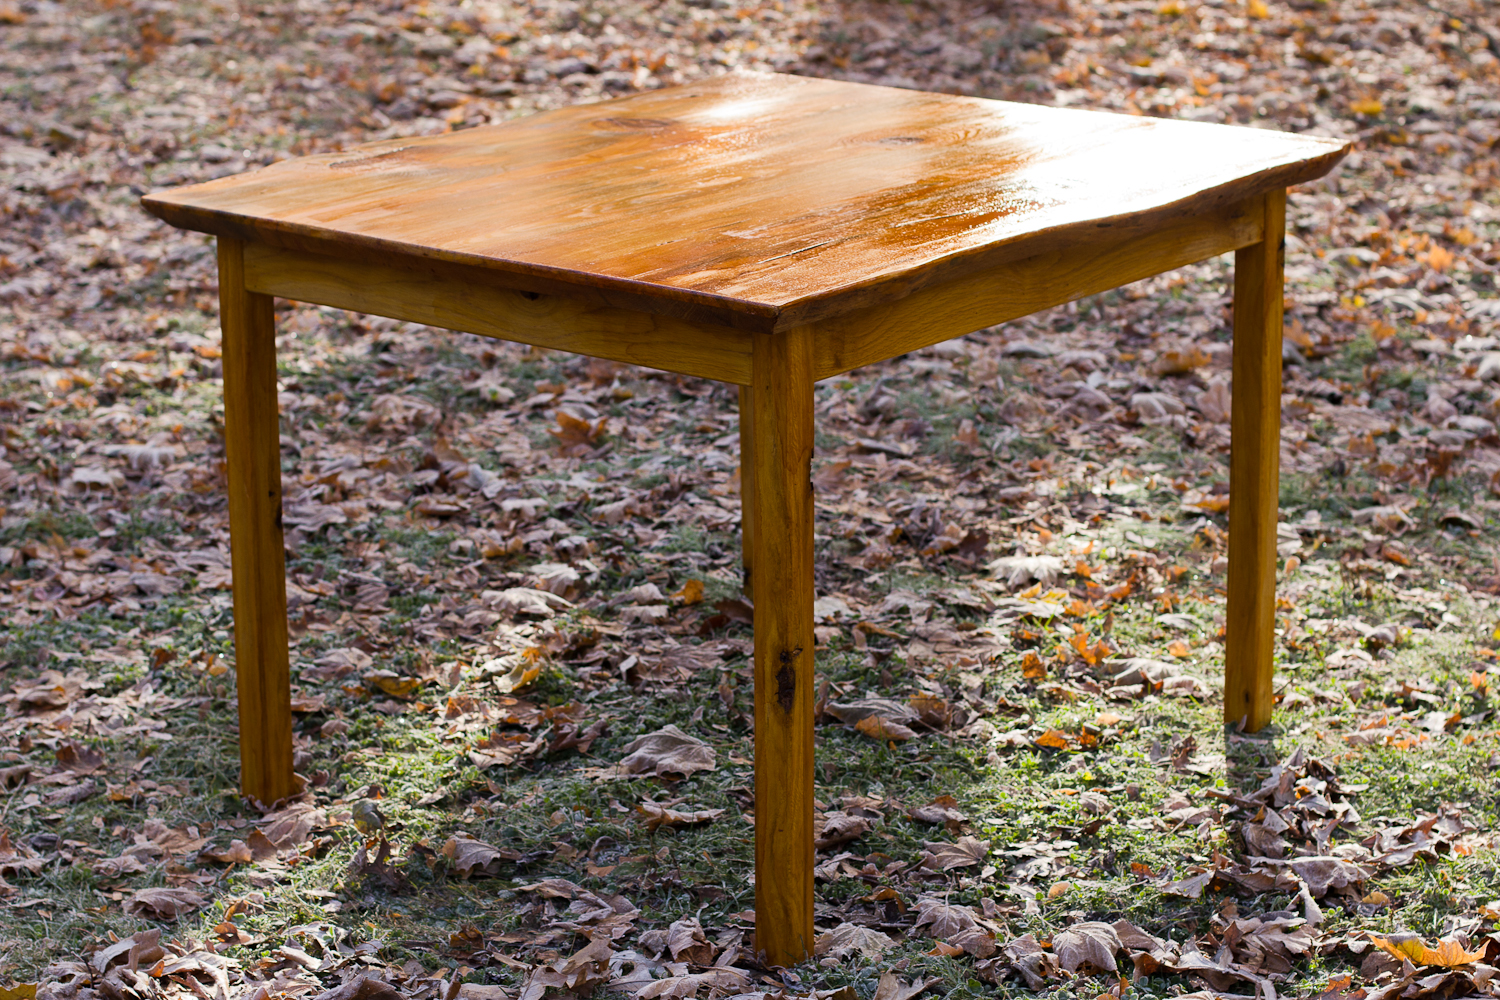
My friend, Kyle, needed a table for an upcoming performance art show related to playing and running tabletop games. He wanted a table that could act as a physical document of play. The table as a sort of participant in the games. After his shows he’ll be using it for running other games over the…
-
Tiny candle holders
This past week at the farmer’s market Cobblestone Farm was teaching kids traditional candle making. My daughter happily jumped in line and made two candles. Today I put together a few candle holders out of scrap wood in the shop: Walnut and Cherry from Urbanwood.
-
Marking Knife
Made a marking knife! Not pictured was pretending to be a blacksmith with a propane torch. The blade was shaped from a used jigsaw blade following the instructions on the Lost Art Press Blog. Walnut and cherry from Urbanwood. Epoxy to connect it all up and finished with shellac. It ain’t perfect. It’s serviceable though!…
-
Kitchen Shelves
Our kitchen peninsula was in dire need of some organization. We also had a blank wall directly above it so…shelves! All of the wood for this project came from Workantile’s storage room: pine slats from someone’s old ikea bed and shelves made from the Baltic birch plywood from an old phone booth project. The screws…
-
Remote Caddy
Made a little caddy for our remotes. The hope is this cuts down on the number of times we have to ask where the Roku remote went. Mitered the edges and reinforced with splines for rigidity and class. Pine reclaimed from the Workantile storage room and walnut from Urbanwood. Finished with shellac.
-
Try Square
Made a try square based on plans from Rex Kruger. Shockingly, it’s pretty and pretty square! Walnut and cherry from Urbanwood. Aluminum rod for the pins from Home Depot, who looked at me like I was off my rocker for wanting brass rod. Epoxy to hold in the pins. Finished with shellac.
-
Miter Saws and Circular Saws
A friend asked me whether he needed both a miter saw and a circular saw for a project he’s working on. As we were chatting he told me “this should be a blog post” so here we are. Important Note: when we think of tools I think we should focus on access rather than ownership.…
-
Some Thoughts on Tools
Here is what I’ve been learning about tools: Become enamored with taking care of your tools not buying new ones. Buy the cheapest tool you need for a job. If it breaks or fails its intended purpose then buy a more expensive replacement. Completing a project from start to finish is the only way to…