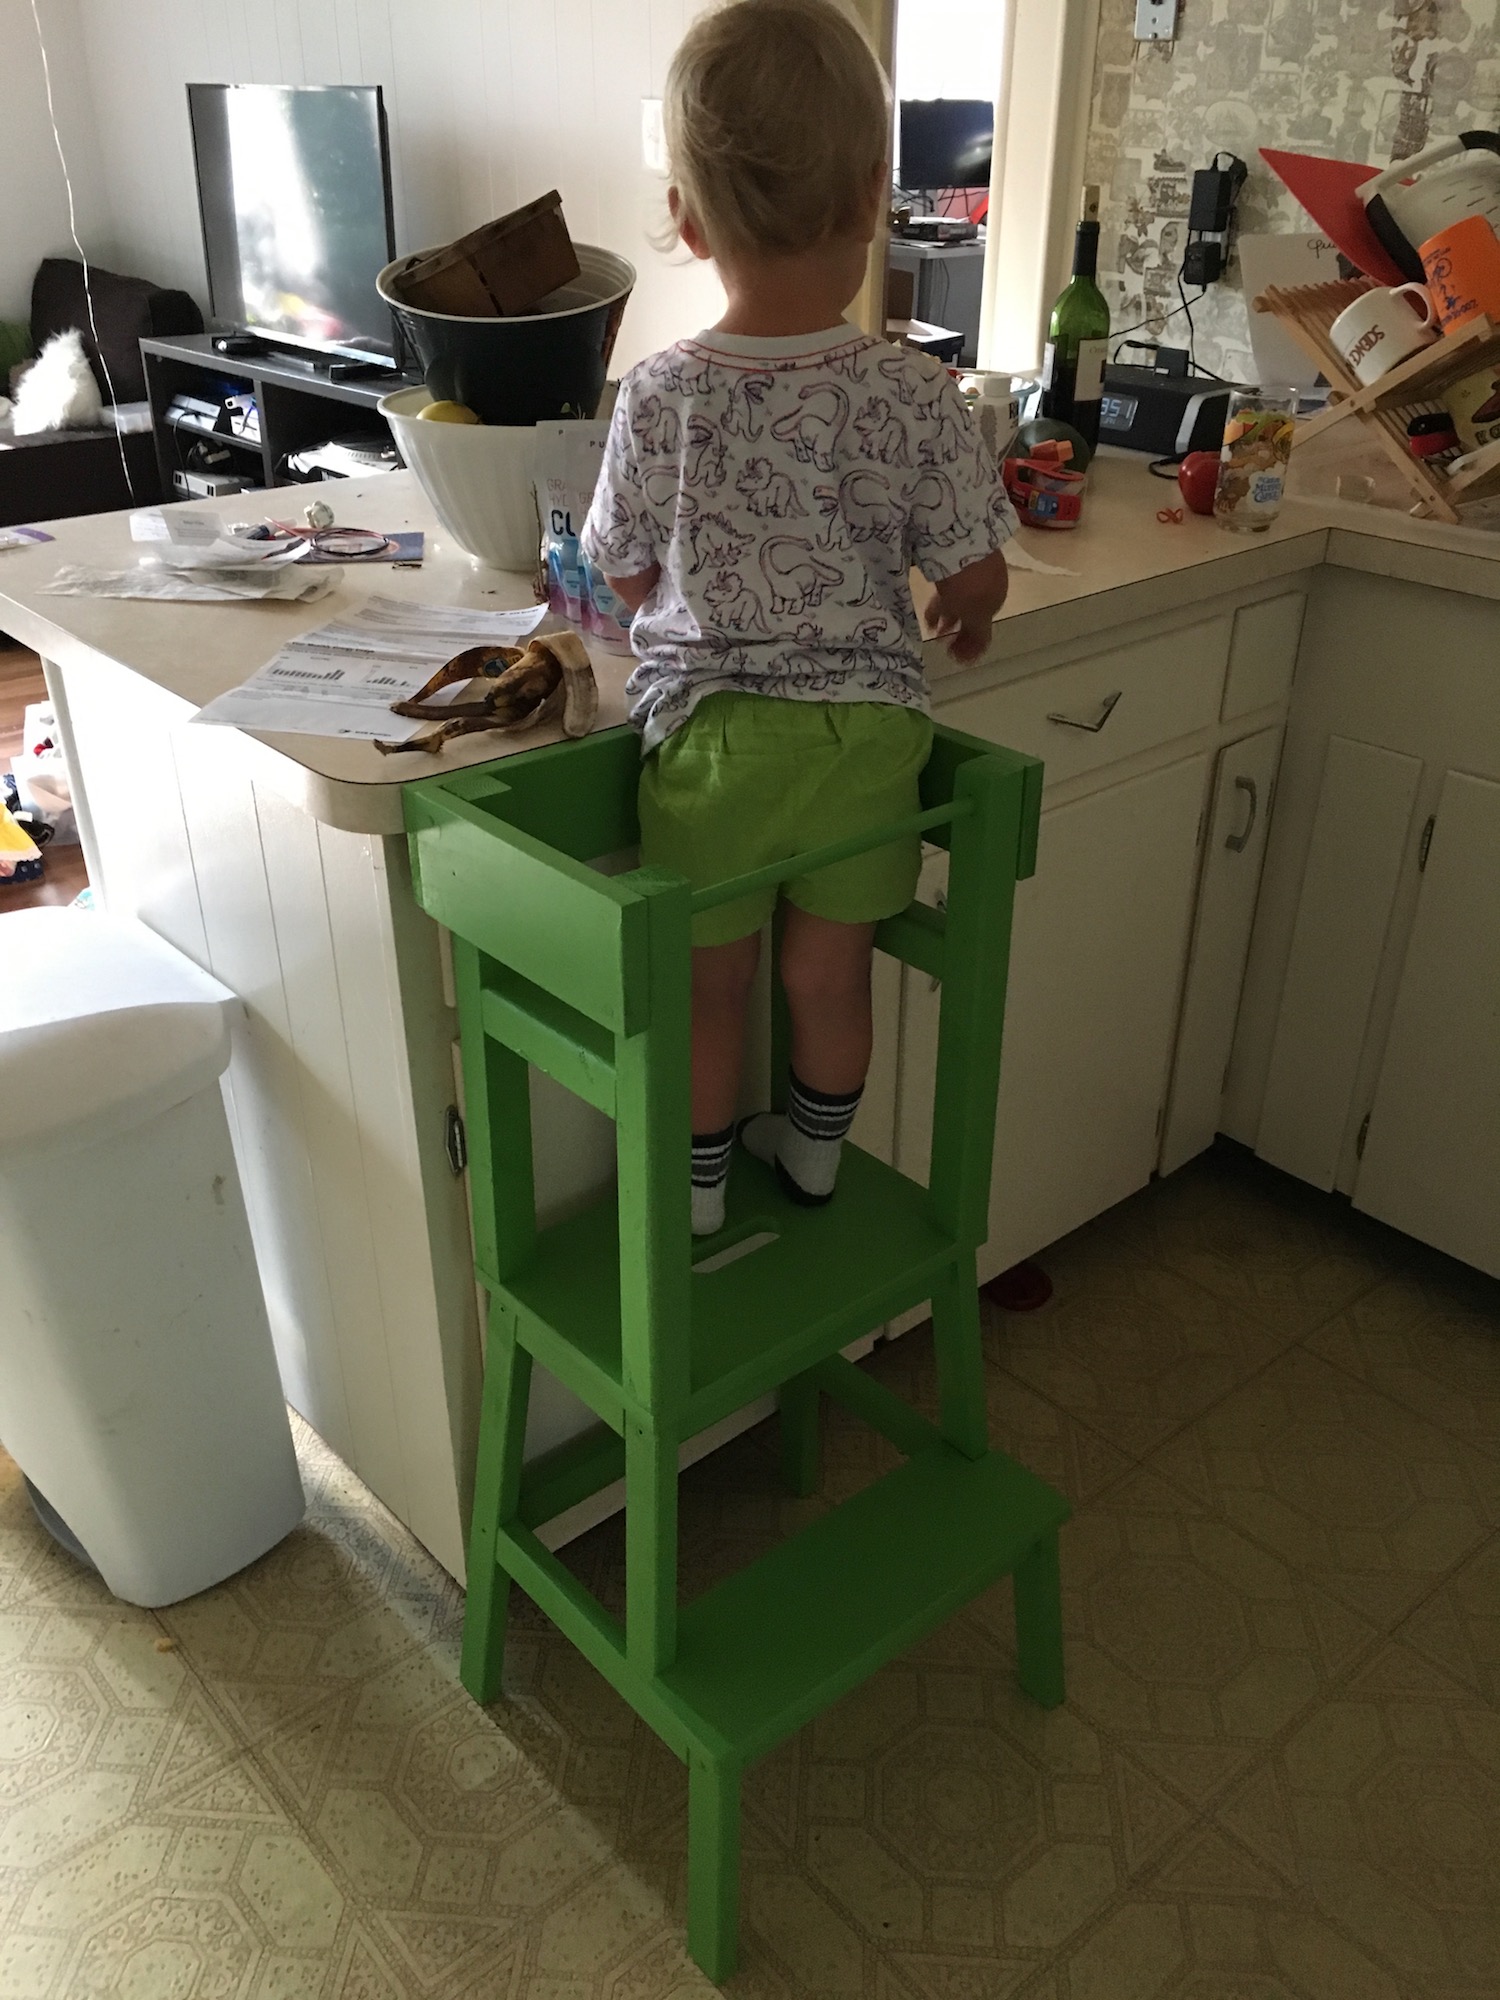
One thing about toddlers is that they want to see whatever it is you’re doing up there. This leads to plaintive pleadings for “up, up, up, up, up” whenever we are doing anything in the kitchen.
We needed a solution to this that didn’t devolve into ignoring her until we finally caved and picked her up. I posed a question on Workantile’s slack and Andre replied to say that they’d had luck with the Ikea BEKVÄM stool.
In googling for it I stumbled across a DIY project to turn one of them into a “discovery tower”. Real Discovery Towers run in the hundreds of dollars and I’d bet they’re worth it. If you’ve ever bought good furniture you know that there’s a hundred small decisions that go into each piece that can make or break it as a useful object.
However, right now, all we needed was something to get her safely up higher than she is right now. You can buy this mod already done off of etsy, but I’m never going to turn down a chance to make something like this myself.
Which Plans?
There’s a lot of these projects out there on the internet. Everyone does it slightly differently.
Which then sent me over here to this Ikea Hackers post which is what I really used as the basis for our design.
My wife ordered the stool and it arrived a week or so later. I put it together and Scout immediately did this:
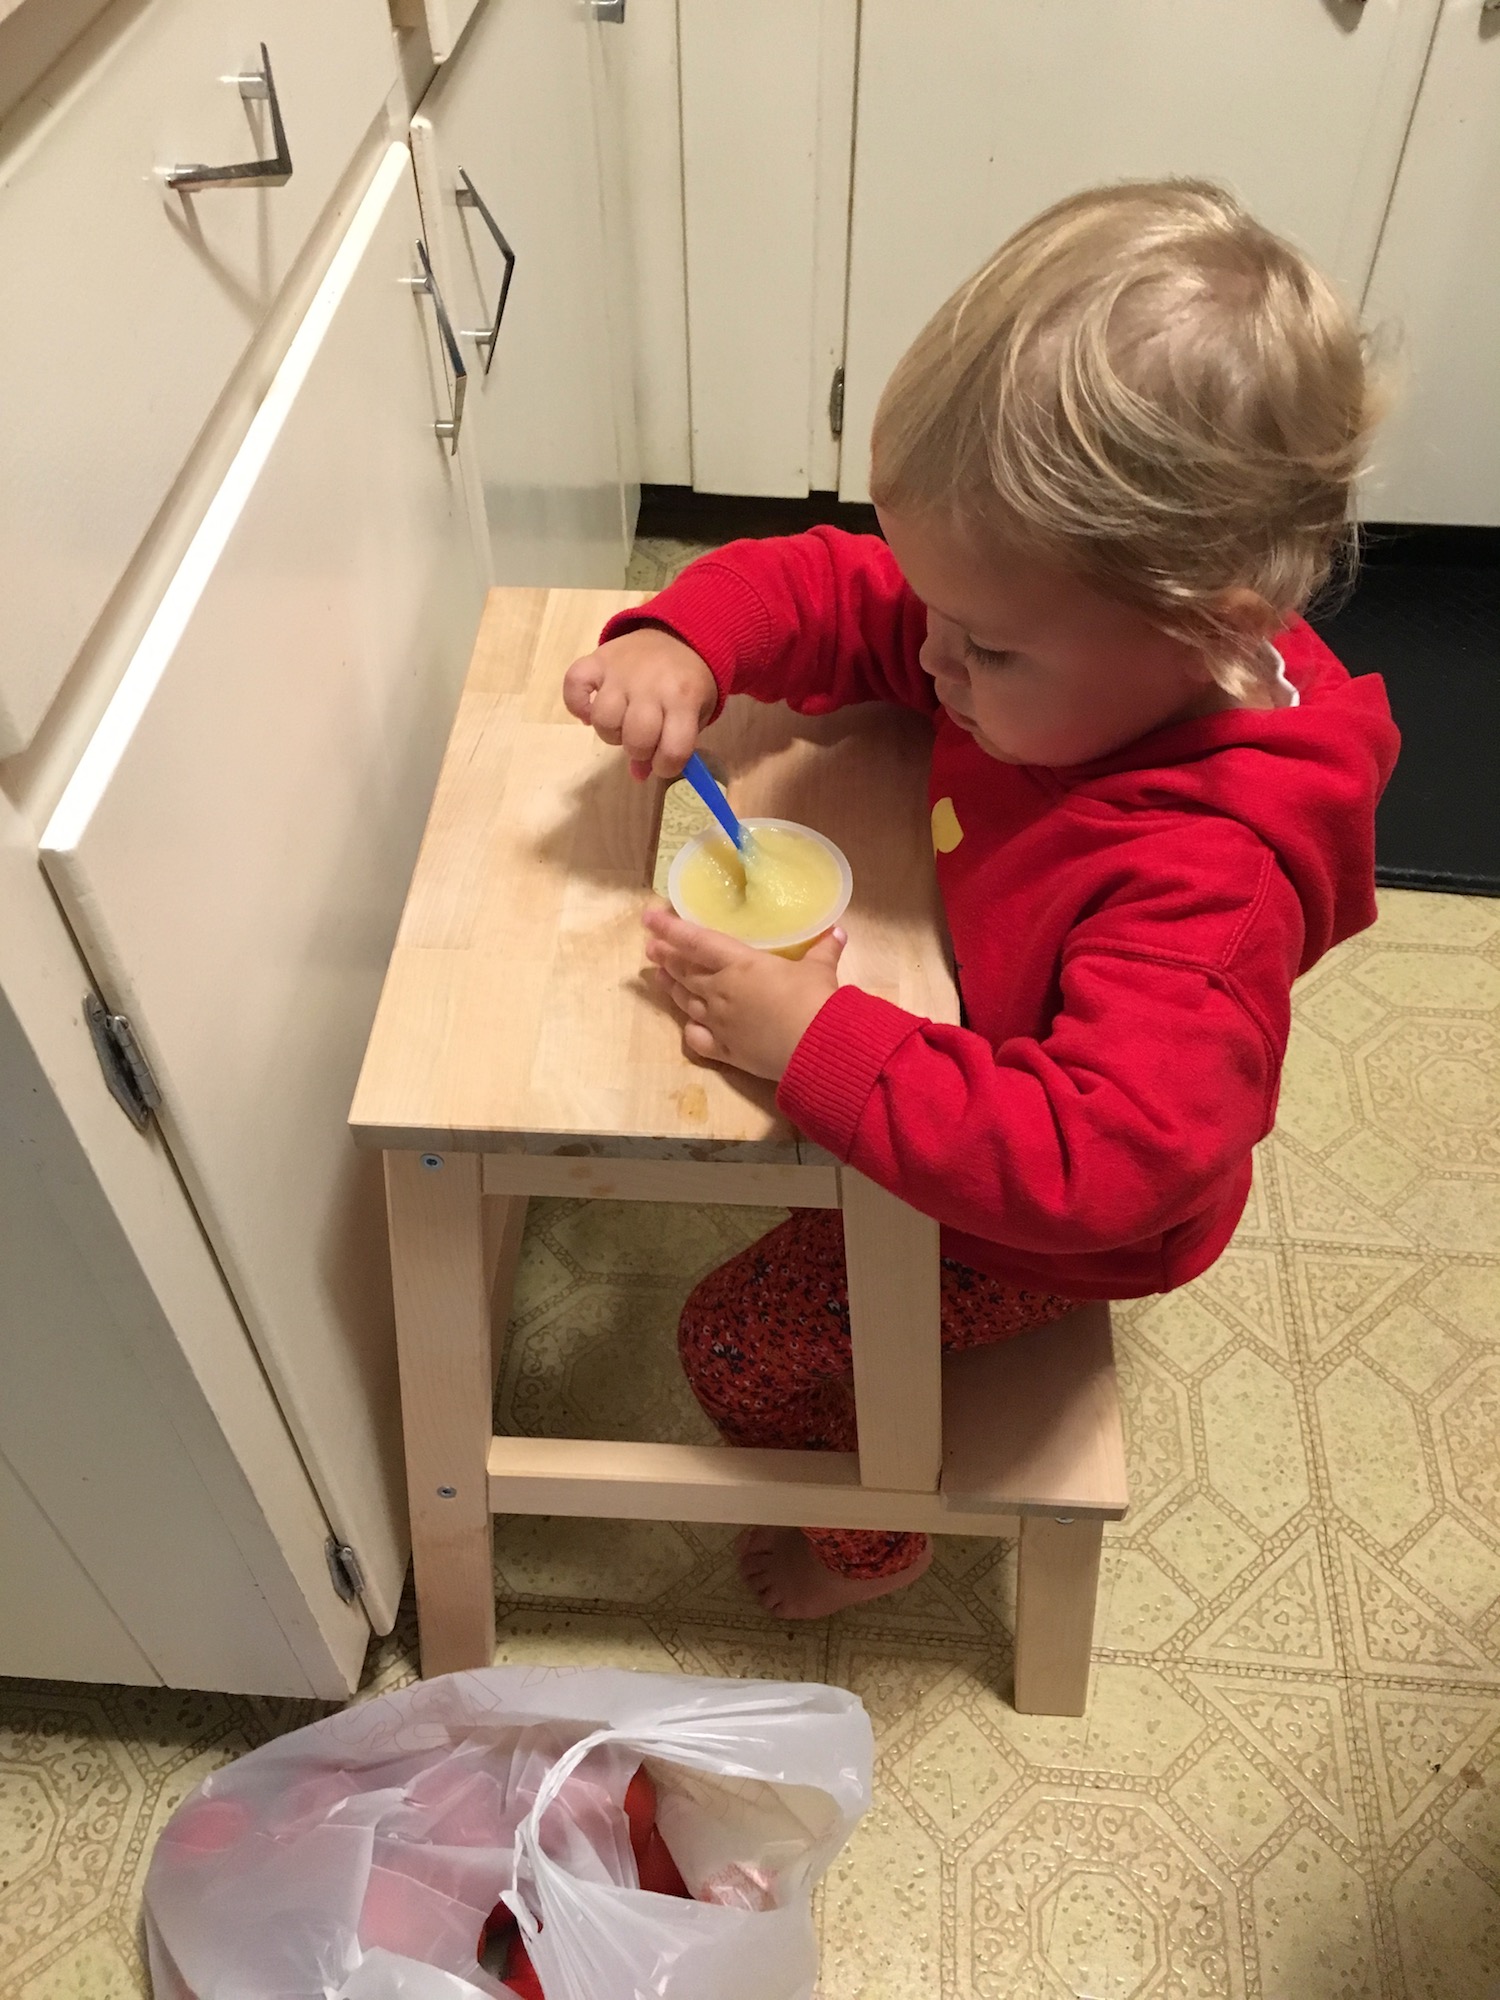
Affordances are an amazing thing. We had to put her on top of it for her to get the intended use and then she loved it.
Materials and Tools
Aside from the stool the other materials were a spare 2×3 that I had left over from another project, some scrap 1”x4” boards, a dowel, and 2” drywall screws. Paint came from a leftover testing pint we had around.
Tools were a miter saw and a drill with a bit for predrilling and a bit for drilling the dowel hole. You’ll also need a bit for your screws.
The first major step was cutting the 2×3. The 2×3 runs about 1.5” by 2.5” so I took it to the table saw and ripped off an inch to make a roughly 1.5” by 1.5” 8 foot long board. If you don’t have access to a table saw you could skip that step. The tower will just look a bit chunkier. Alternatively, buy a smaller board. That made up the majority of the tower, with some extra scrap used for the top supports and a dowel for the back support.
You can absolutely use nicer materials, but that wasn’t a priority for us for this project.
Also I’m not giving measurements, because it’s very important that you make your own. When following someone else’s plans on the internet I’ve found that what you’re really getting is the general shape of the finished project. Your tools’ tolerances and your materials are always going to be different. This goes double when you’re using scrap wood and framing lumber.
Project Overview:
I’d recommend doing this project in this order, which differs from how I did it. Learn from me!
- Vertical Supports: measure from top of stool to counter height, cut, drill holes for dowel in back two supports, sand, attach
- Side Supports: measure between vertical supports, cut, sand, attach
- Dowel: cut to length and thread through with a dab of glue on each end
- Top Supports: measure sides, cut, sand, attach. Then measure the front piece, cut, sand, attach
Note that sanding before attaching will save you so much time in the long run. I just did a rough sanding to knock down any sharp corners and clean up splinters. We want the “natural beauty” of the rough lumber to shine through (ha!).
Vertical Supports
First step was to measure from the top of the stool to the top of the counter. I was looking for an exactly even surface because that’s the sort of thing that really makes me happy. Your milage may vary on whether you care or not. If you don’t care, at least going lower than your counter height so you don’t create a lip that is going to get in the way.
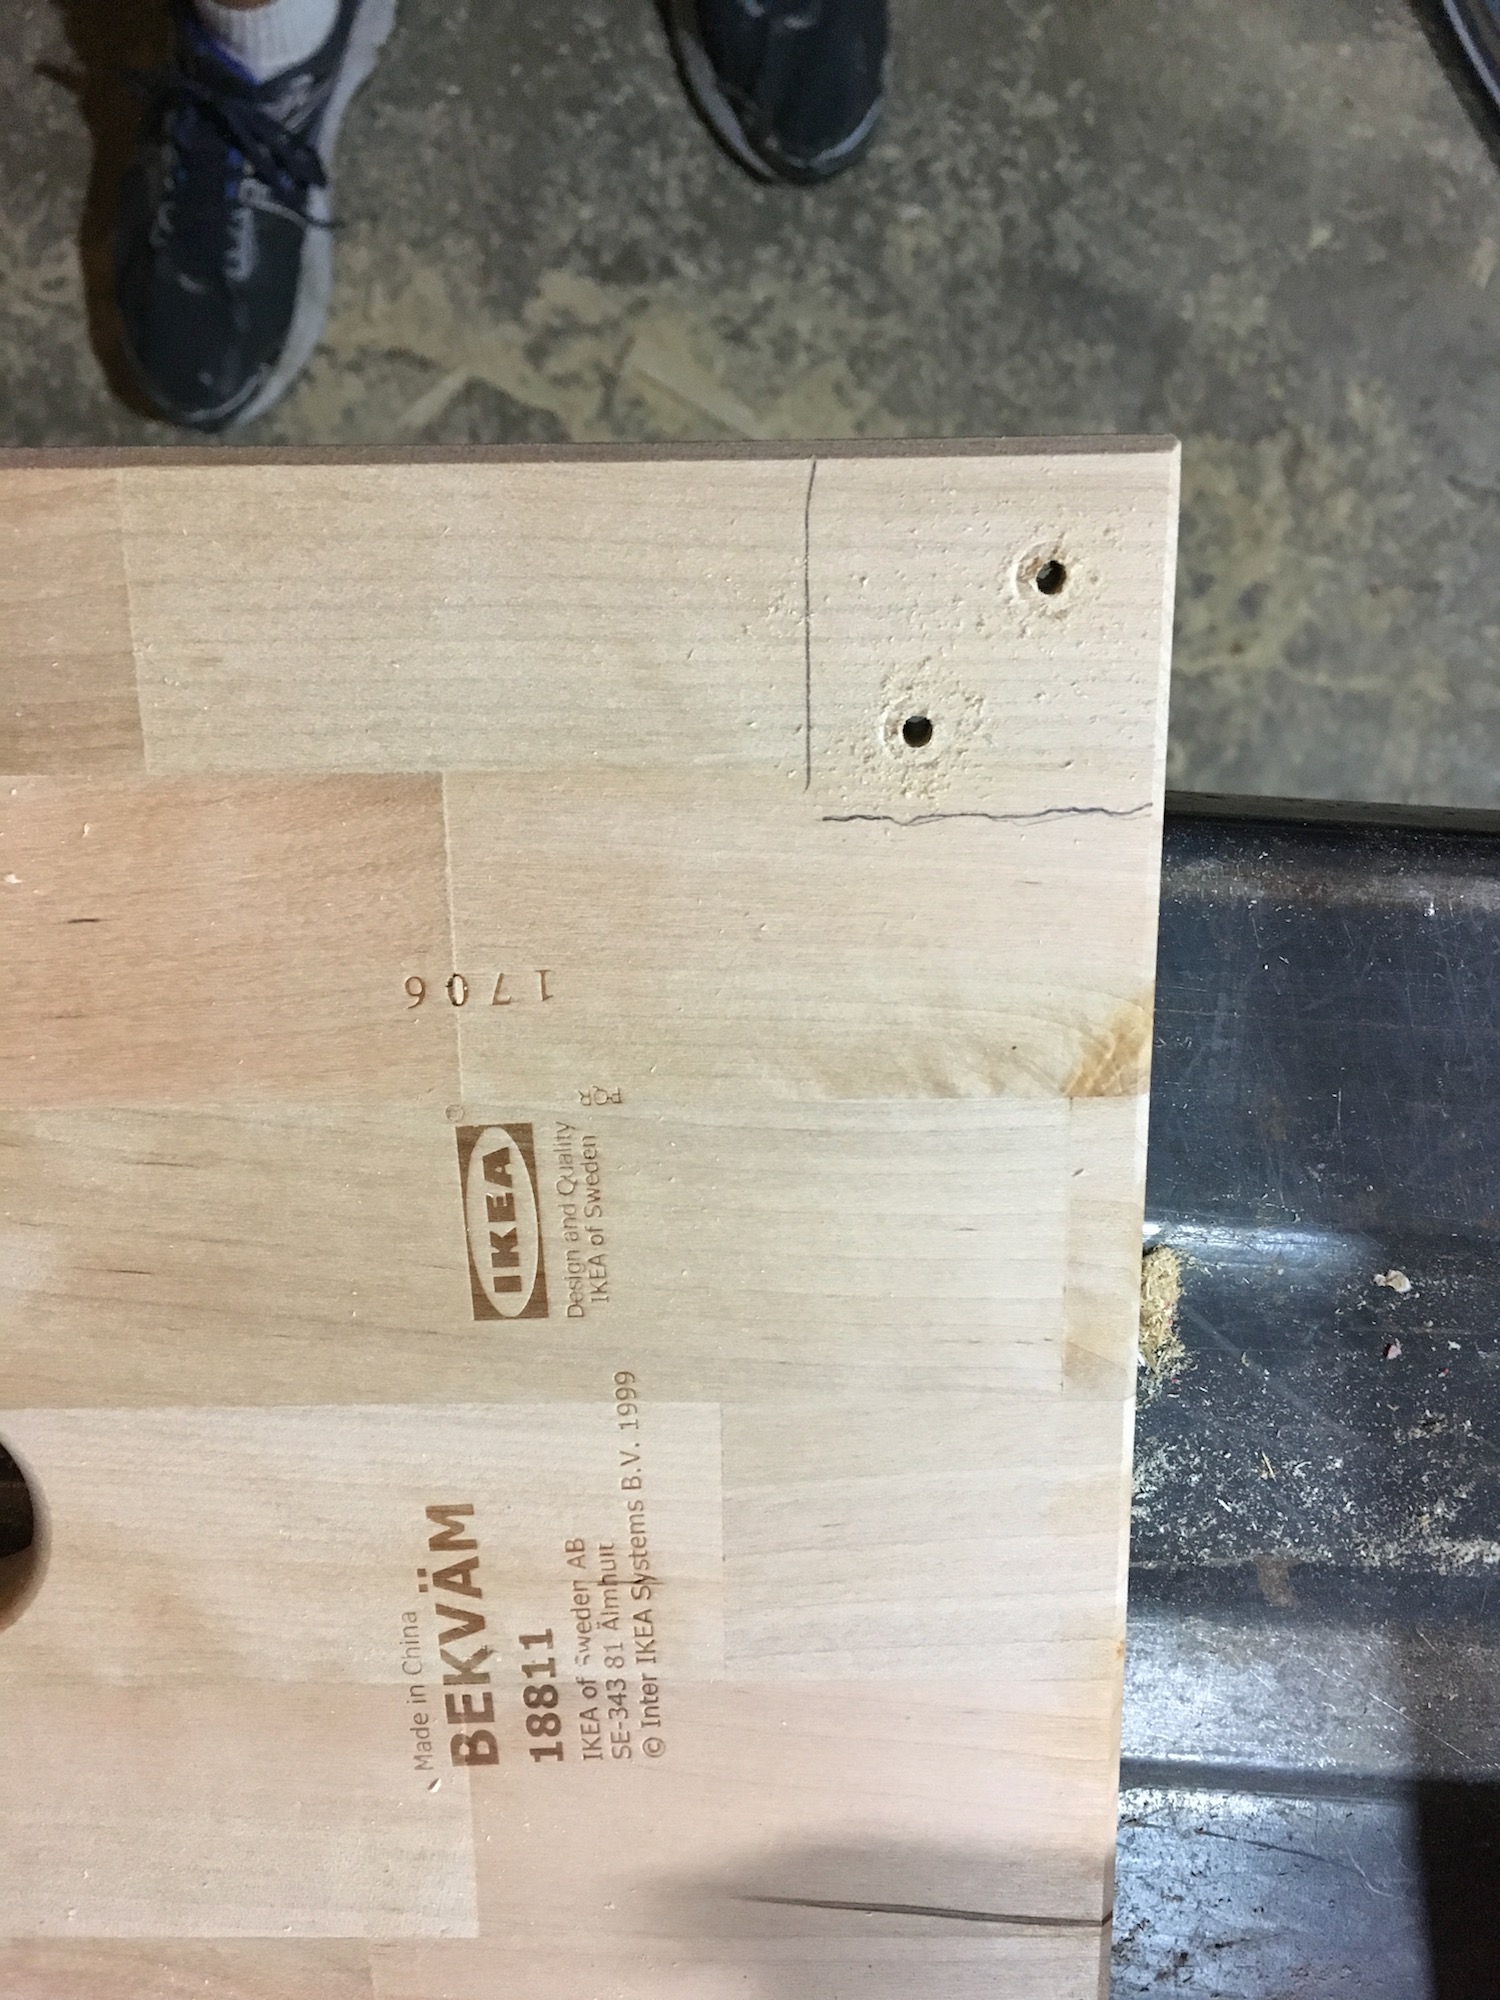
The vertical supports are each attached with two screws drilled from the bottom of the top part of the stool. Predrilling with wood like this is a must or you will split it. What I did was predrill through the top board, then put the screws in so they poked through the top just a bit. That let me press the vertical supports down into them to mark them. Then predrill those, then screw it all the way through.
That’s a lot of steps, but the upshot is that nothing split and all the supports are aligned well.
Side Supports
Once the vertical supports were in I marked off the position for the side supports about 10 inches up. These act mostly as additional handholds for her as she’s climbing into and out of it. They honestly might not be necessary.
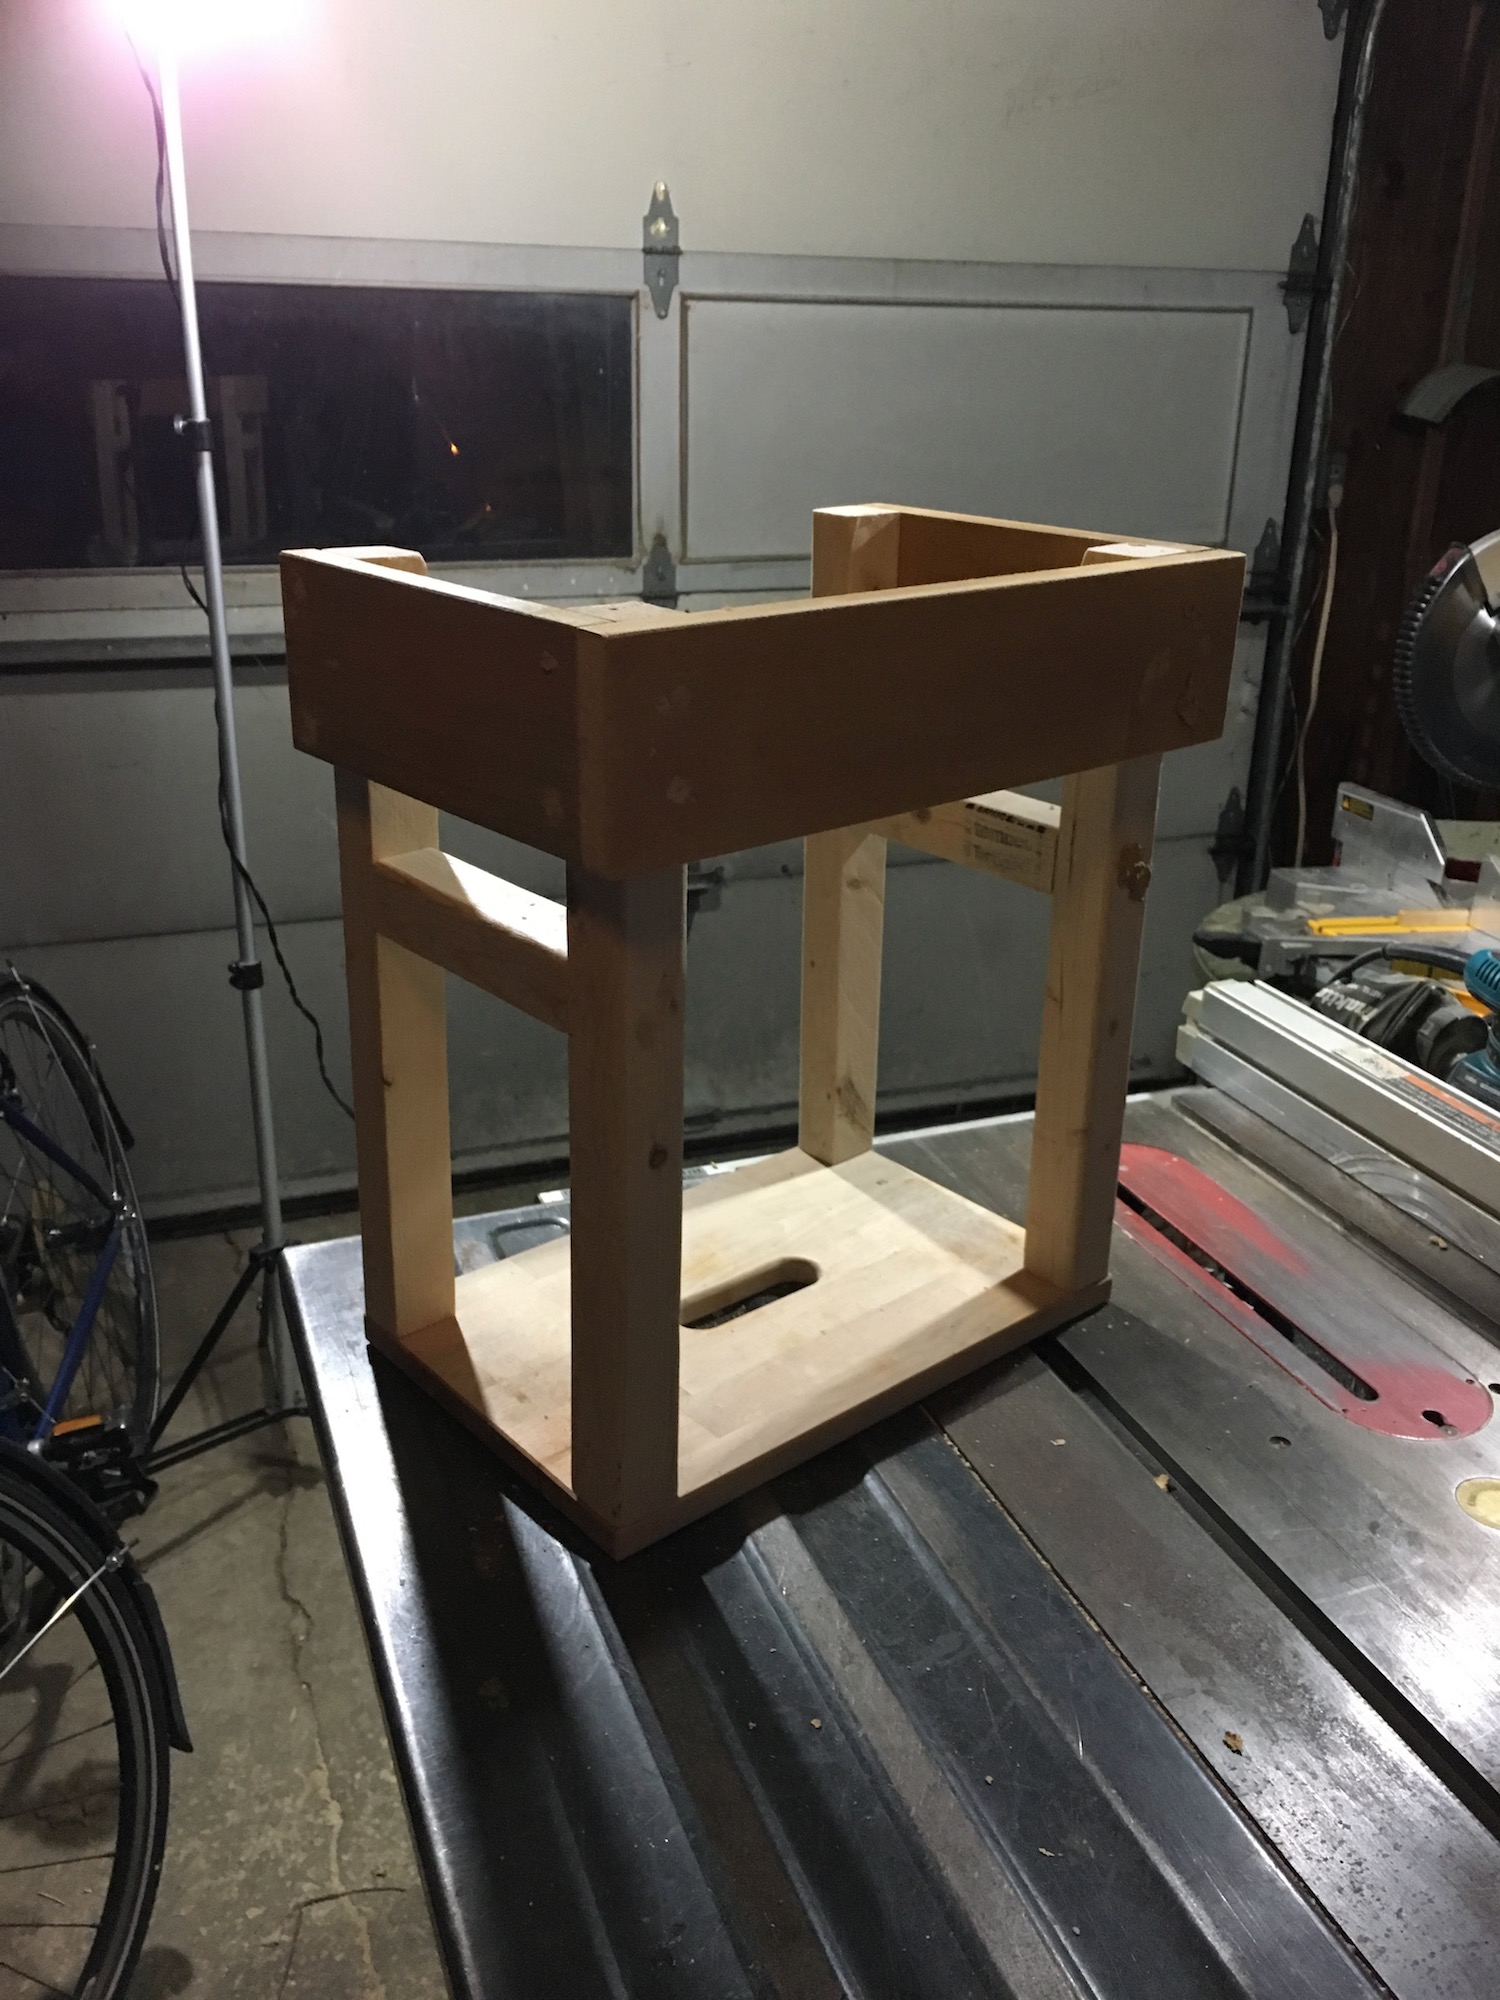
Dowel Support
We originally didn’t have the dowel in place because I didn’t understand why you’d have that there. It only took about 5 minutes for her to be standing up there and lean back to realize that the dowel’s purpose is containment. She can still duck underneath it to get up and into the tower, but the dowel keeps her from flying back off into the void. Parenting is sometimes merely risk mitigation. I’d recommended putting one in, and I’d also recommend putting it in before you screw everything together and fill in the screws with wood putty.
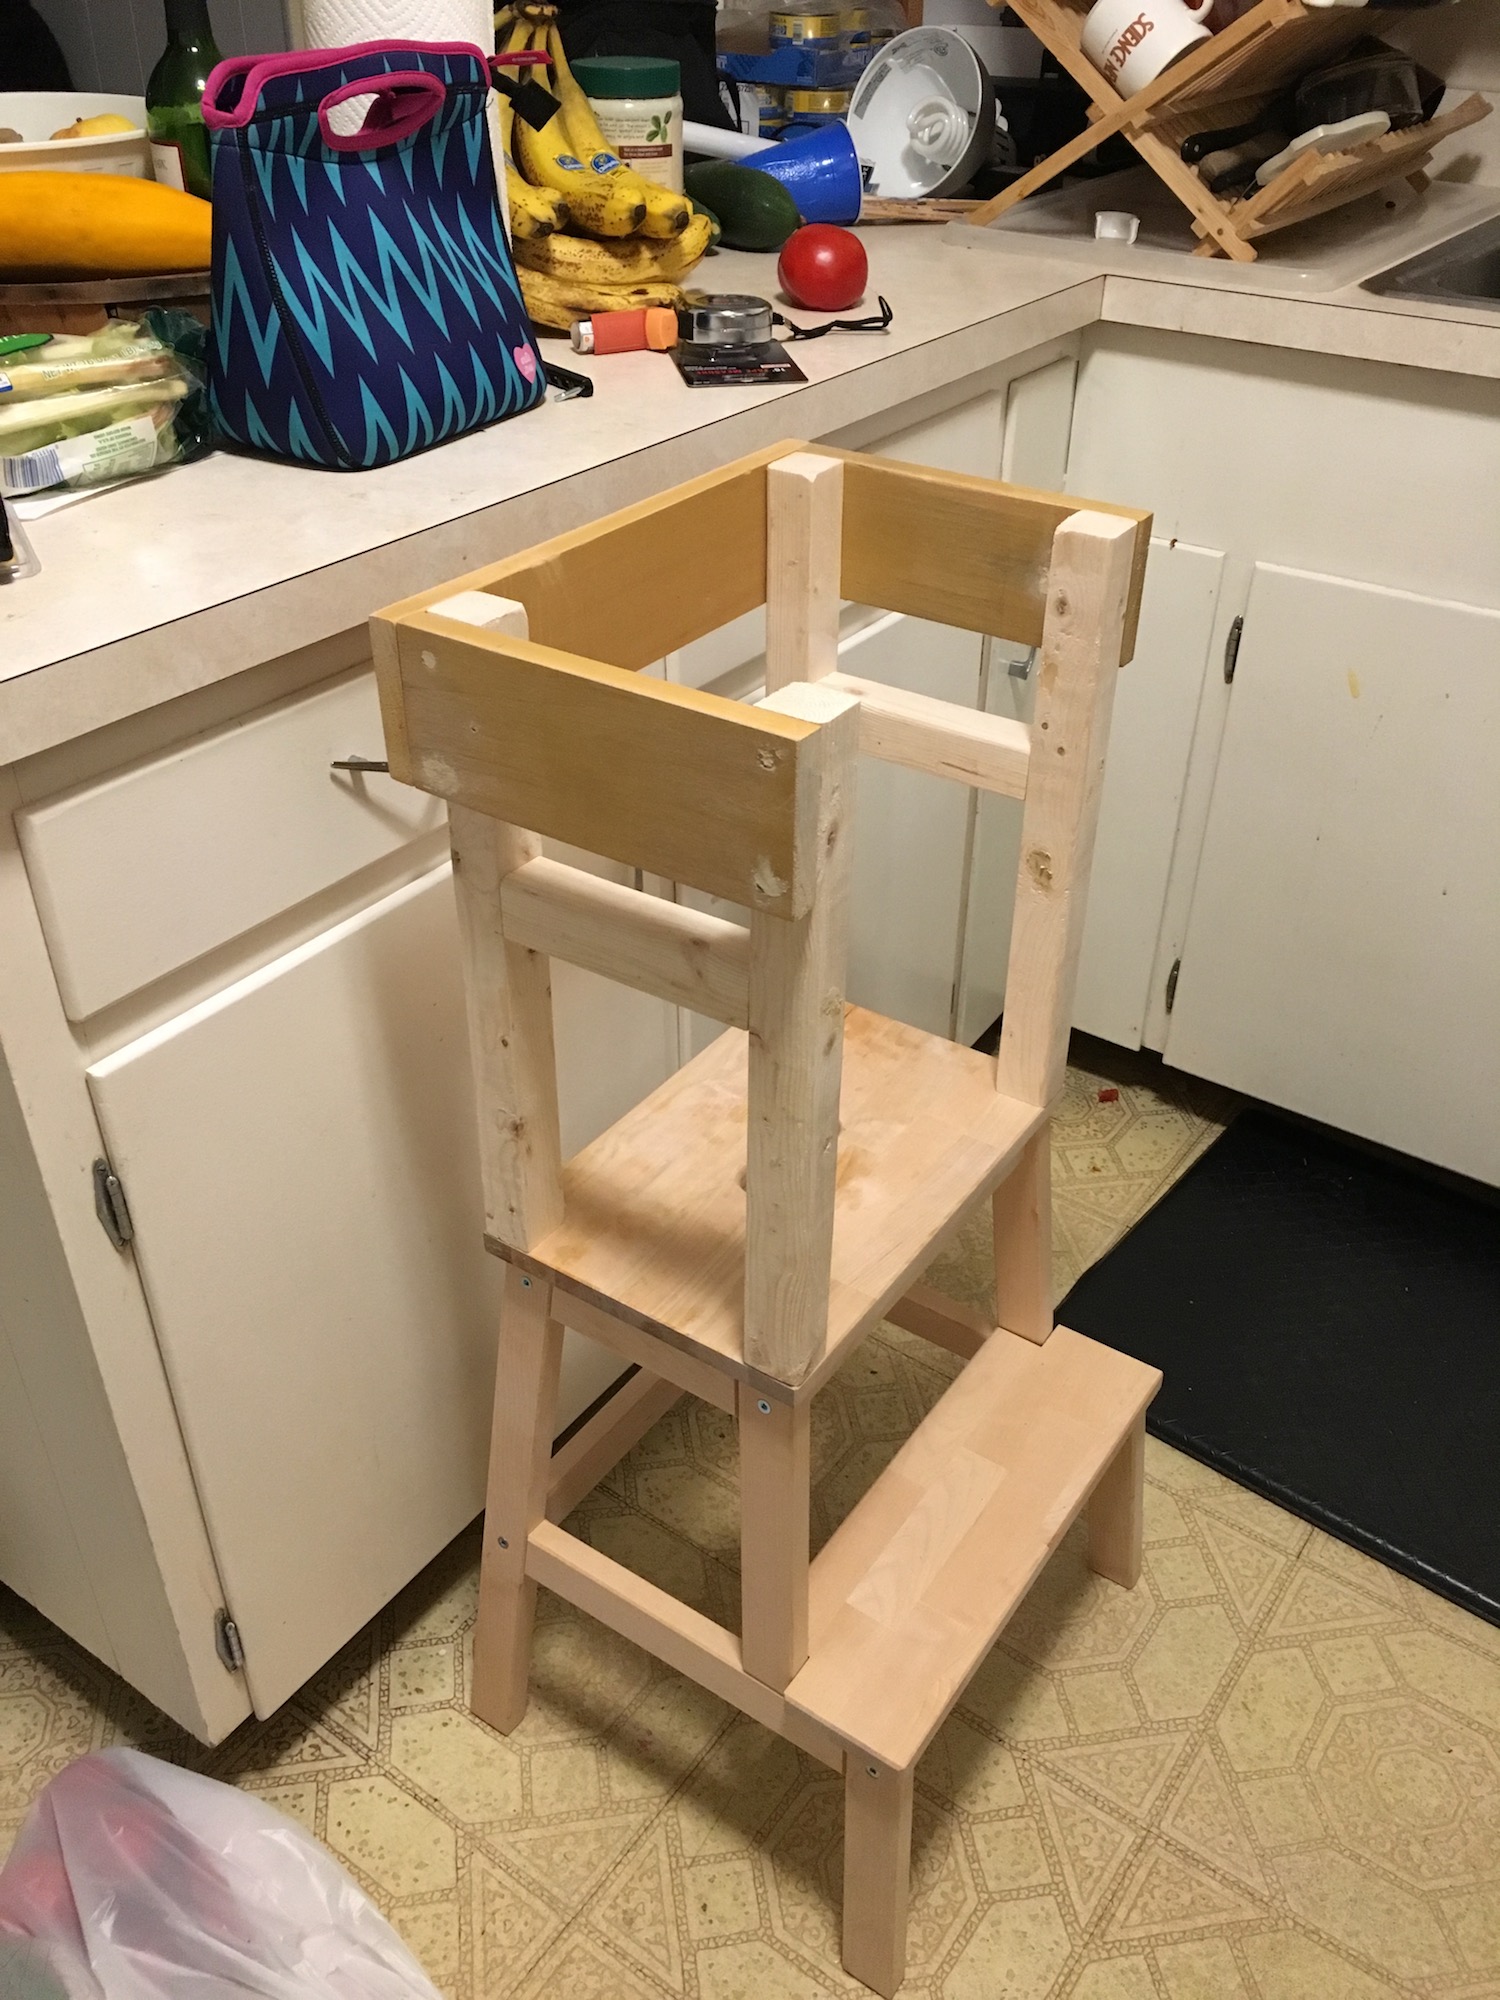
She was still happy with it, but we were not.
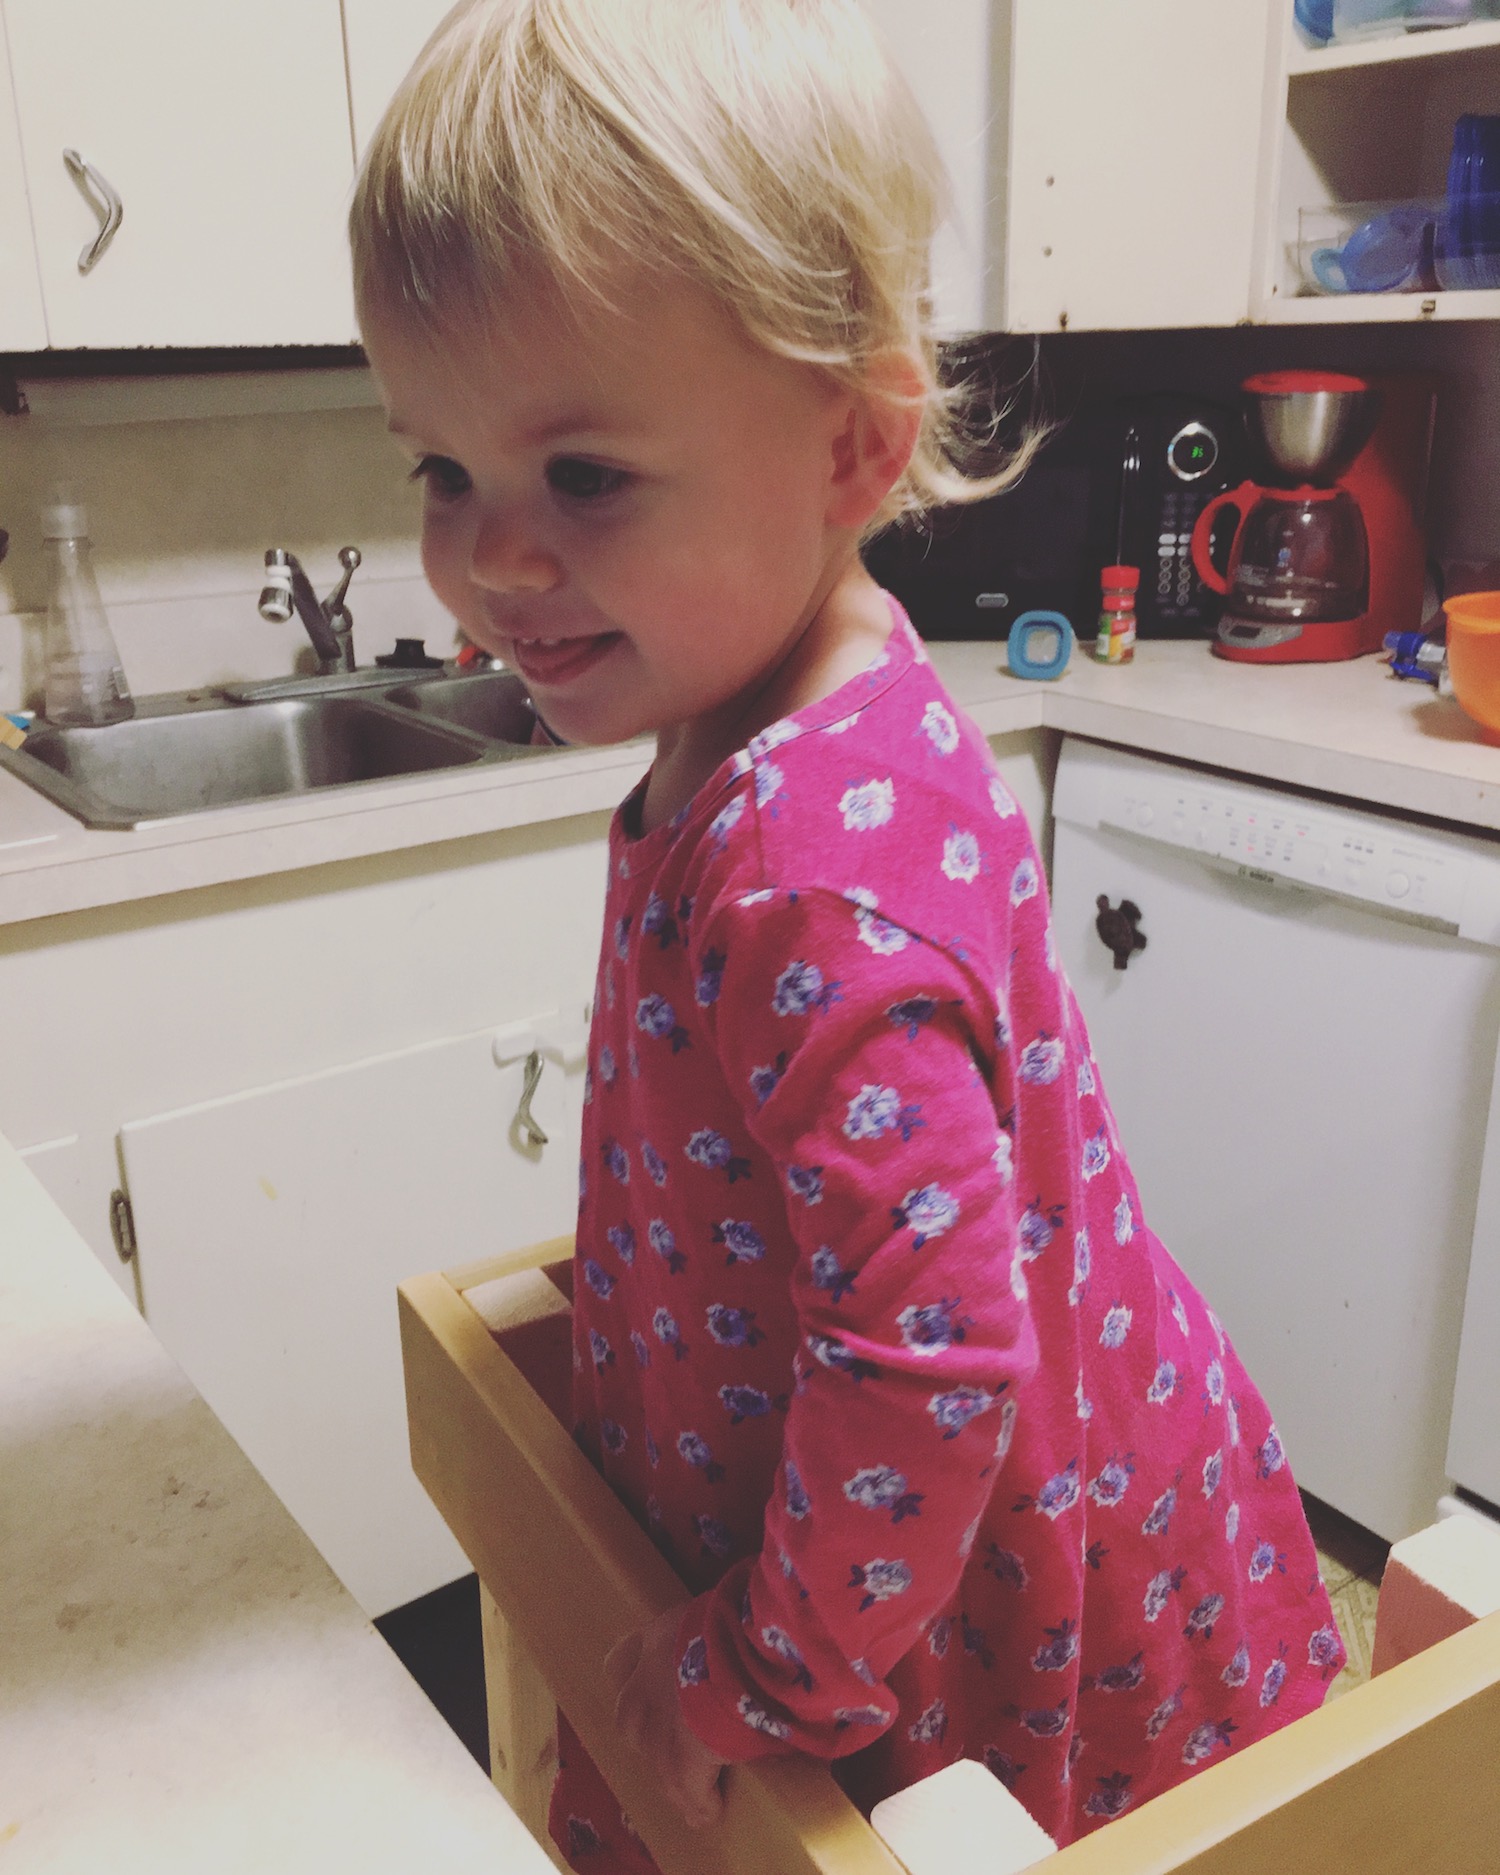
I used a 1/2” diameter dowel, which felt about right to me. Very little flex at this length and doesn’t require a ton of additional space. I drilled direcly through the vertical supports—trying to stay as level as possible and then threaded it through both of them. It’s tight enough to friction fit, but a dab or two of glue wouldn’t be the worst thing. Then when the top supports go on it covers up the end of the holes.
Top Supports
Finally the top supports go in a 3 wall surround. These provide structural support as well as gives her plenty of room to hold onto something when she’s up there. We could have done something similar to the side supports, but I don’t think it’d be as stable. If I ever did a version two of this I’d be tempted to try it to keep it more compact.
Painting
Finally, we painted it using a leftover paint sample pint. For a job like this that was plenty and we have some leftover for touchups later on. There are plans for additional decoration, will update this when and if that happens.
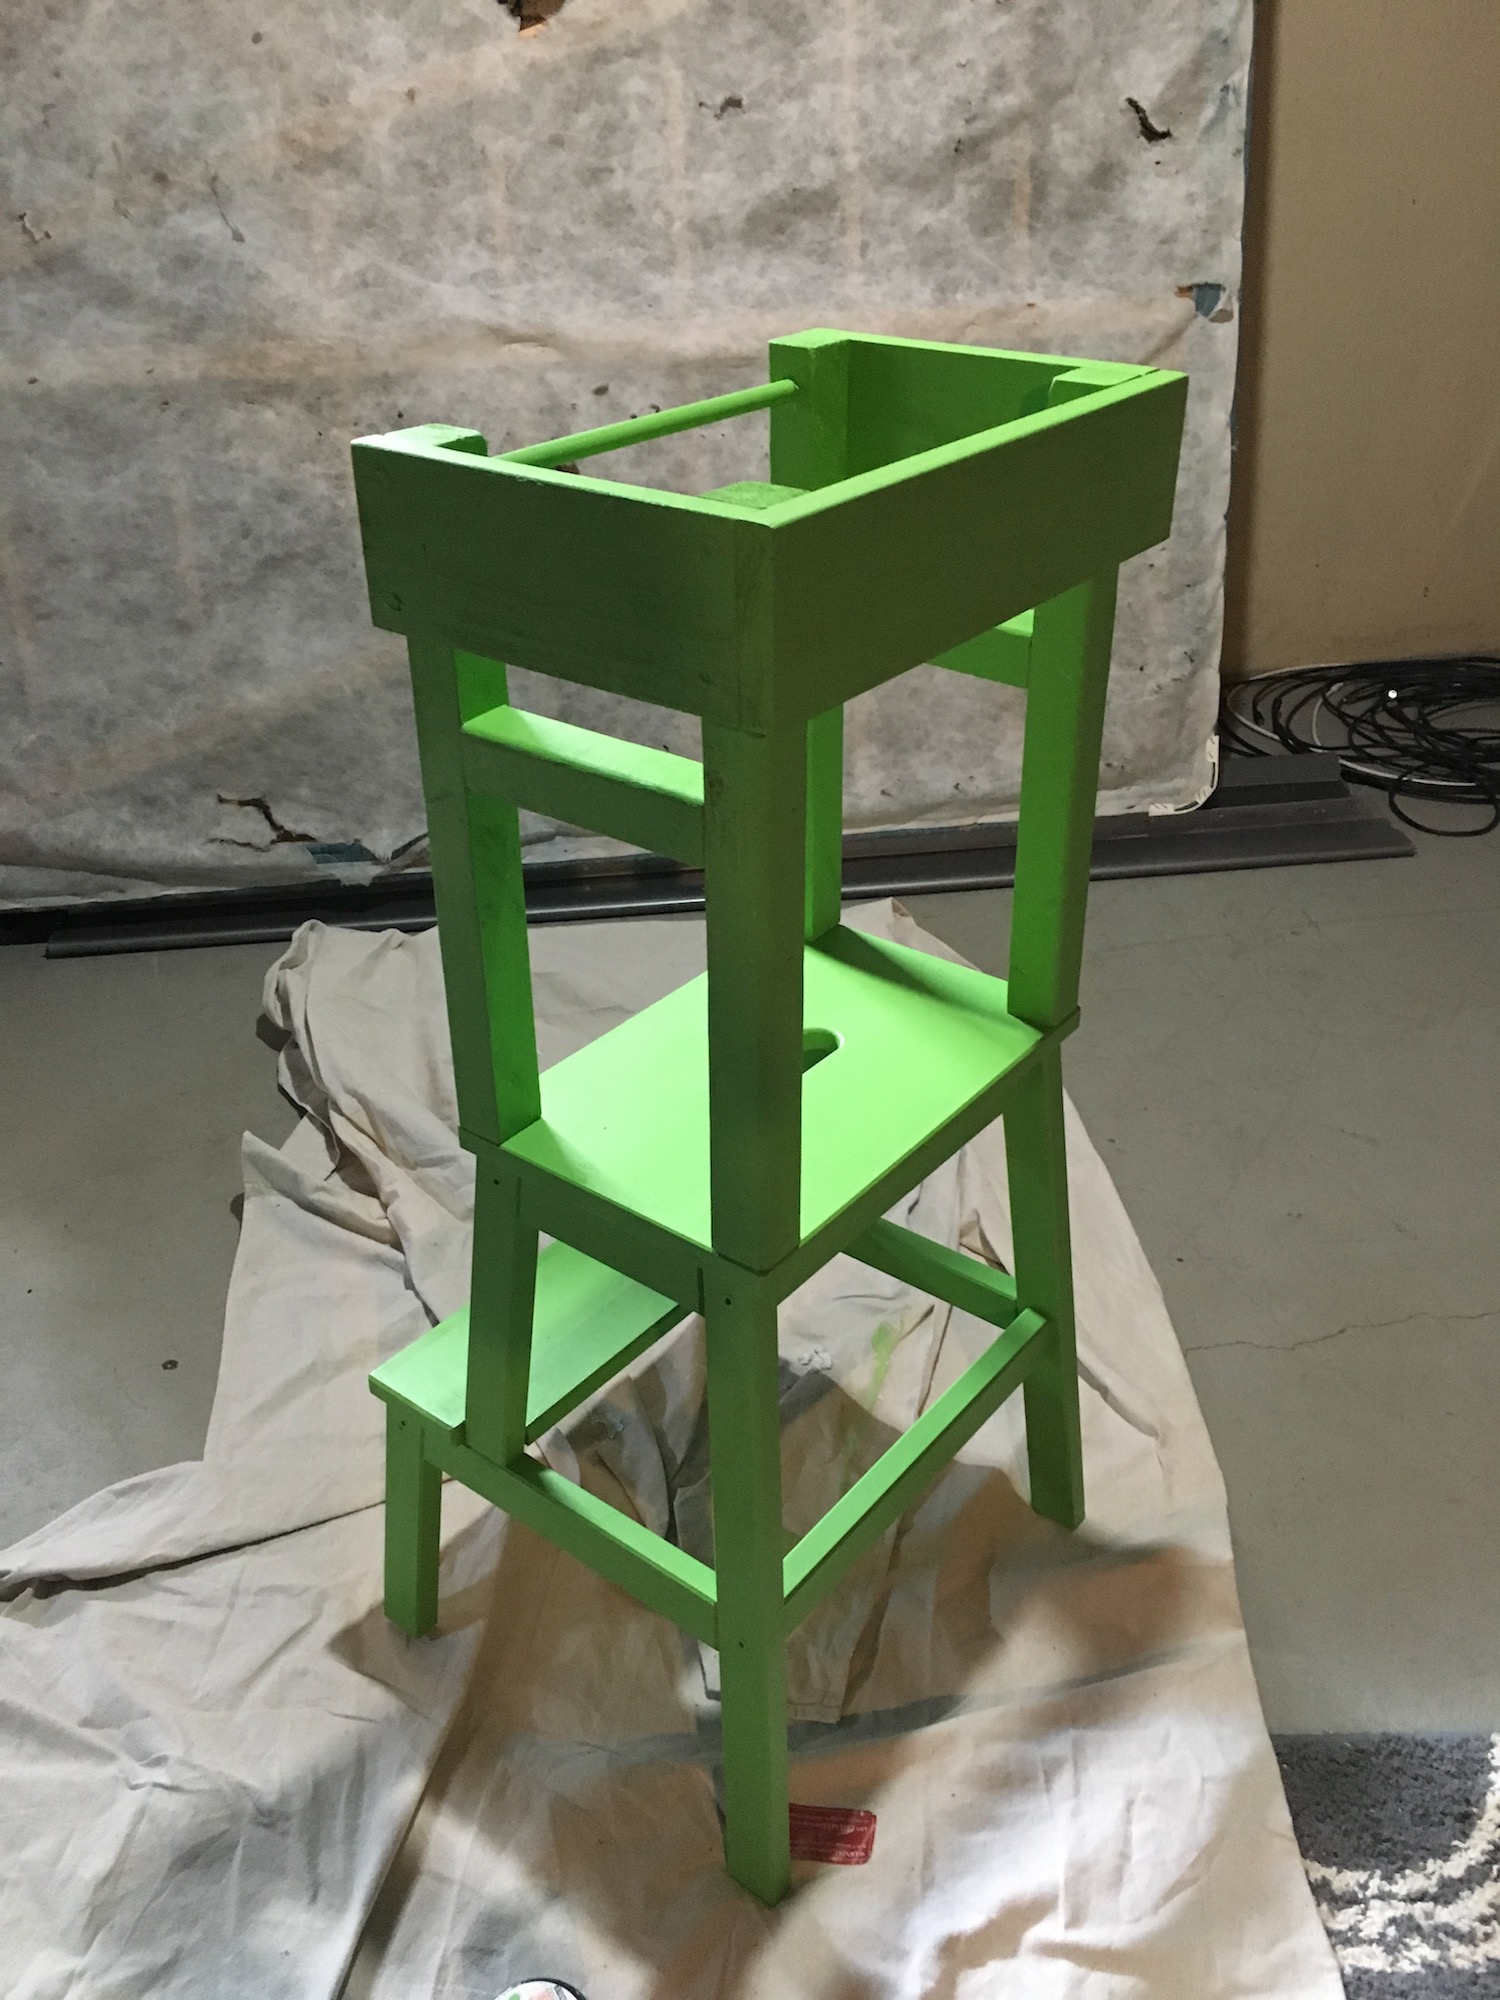
She loves it. This morning I showed her how she can push it around to different “stations” in the kitchen. She happily moved it over to get a banana and then to wash her hands. Later she used it to put her plate in the sink. She will surely use it to do more nefarious things later on, but for now it’s giving her more independence and that’s a very cool thing to see.
