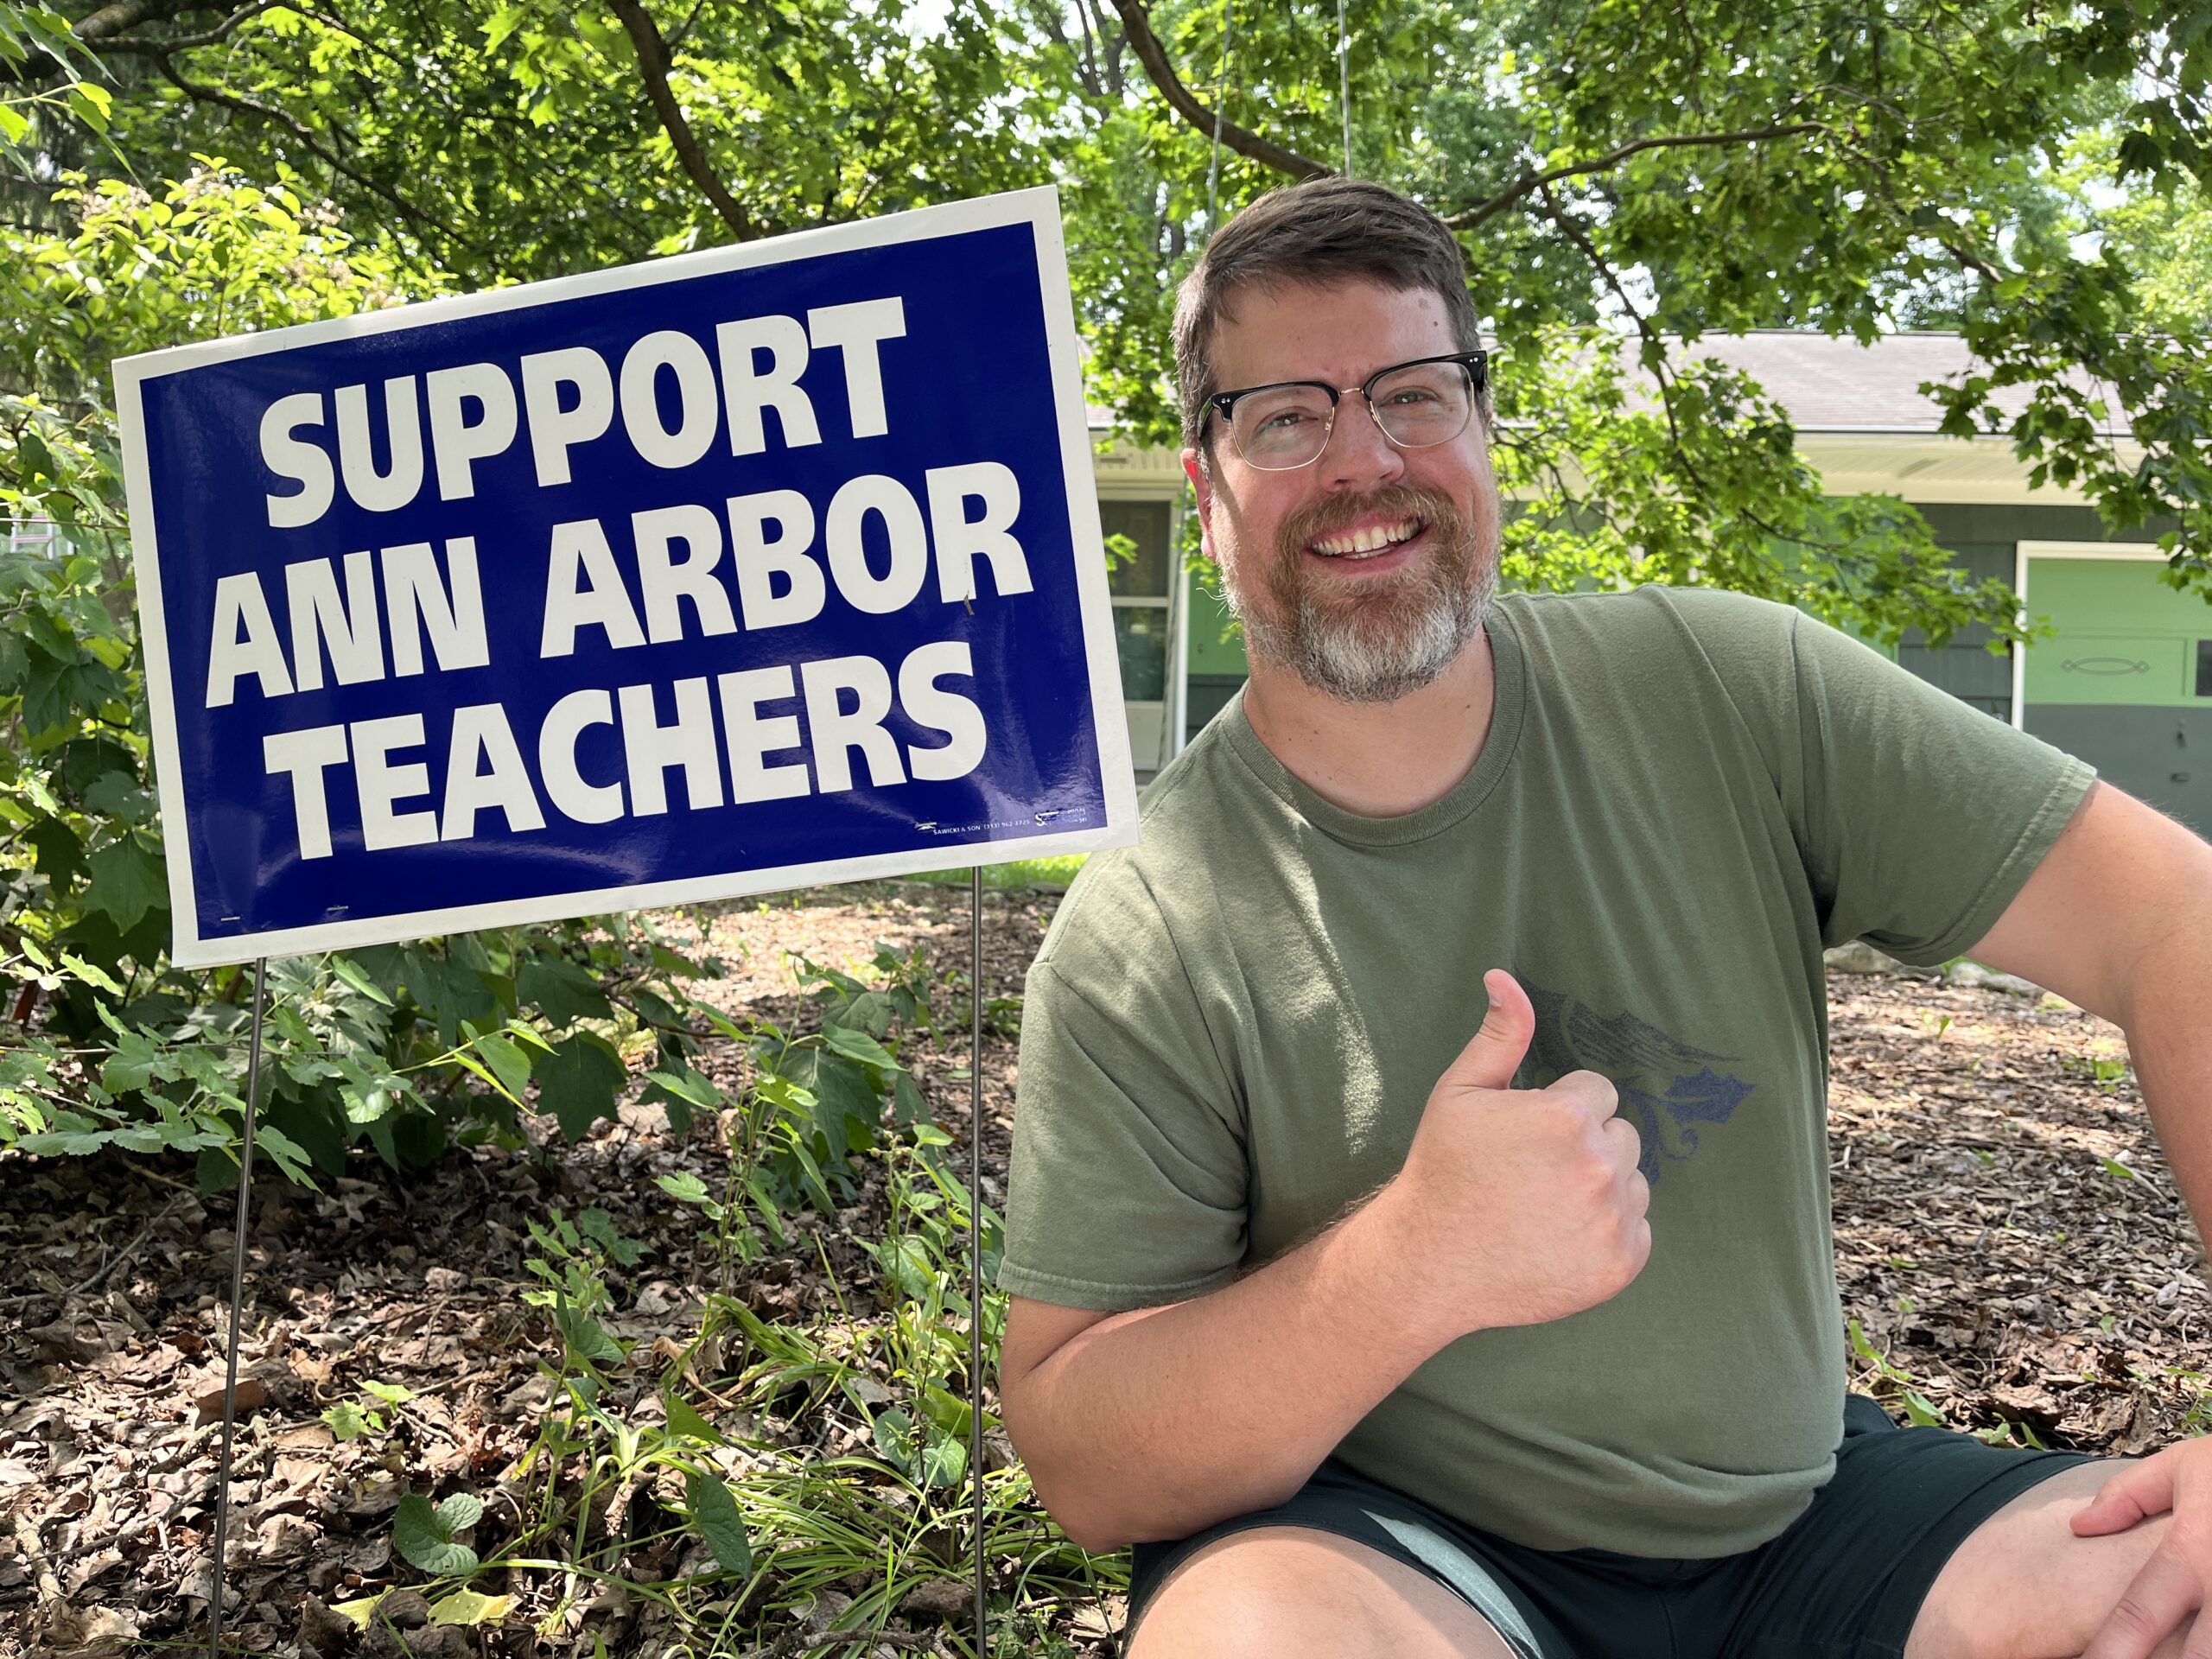
Sound buttons – a tiny (meditative) musical toy

Sound Buttons is an intentionally tiny, mildly meditative, app for your iPhone. Find it here: https://apps.apple.com/us/app/sound-buttons-tiny-music-toy/id6743234562

Why did I make this?

I made Sound Buttons in order to try out a few things:

  • Reacquaint myself with React Native
  • Make something small and game-like
  • Tinker with LLMs in the coding process

Overall, this was a successful project! More on each of those points below:

React Native

I’d last tried React Native about 4 years ago. My experience with it came up recently in an interview and I wasn’t satisfied with my current knowledge, so I set out to make a small toy app to prove that I could go from concept to something live in the iOS App Store built on React Native.

As is typical with greenfield projects the hardest part is figuring out the tooling and workflows. React Native is pretty good these days! The less said about the developer experience of the App Store the better. 

One thing I appreciate about React Native is the ability to start the app in the terminal, open a simulator, make changes to the code, and see them represented in the simulator with minimal fuss. I’ve done a handful of games in Unity and the process of seeing a Unity game in a simulator would take a LOT longer back in the day. We are making progress!

The component tree in this app is an Index route where we enter the app and handle some high level setup and a component that’s reused for the buttons themselves. The buttons have logic to handle pressed events that changes their animations and updates their background colors.

Game-like

Steve Kemsley, my collaborator at Scope Creep Studios, and I keep gravitating towards making small meditative and minimalist experiences (although, go check out Bug Drop! if you want to play a pretty great platformer). Sound Buttons was also born from that sensibility. What if the primary and only interaction was just tapping buttons and hearing some nice sounds?

With that as the hook for the project I fired up React Native and the Expo framework and started to explore Expo Audio to handle the sound. The circles are HTML/CSS and are animated with react-native’s built-in Animated library.

Steve tried out my first iteration with some test sounds I’d dropped in and immediately texted back:

He was, of course, right and way too kind about it. A few hours later he delivered a folder of mp3s for an expanded sound palette. I added them to the build and sent it off to the app store for review.

LLMs

On the LLM front, I wanted to see how ChatGPT could help me get acquainted with new libraries. For something like this where you mostly need search documentation for correct syntax it’s fantastic. My first use case was in building the sequence of animations. I knew the Animated library would support the things I needed (opacity and x/y positions) even if I wasn’t sure of the ins and outs of the API. Asking ChatGPT to build that sequence gave me a block of code that was not quite right; however, gave me enough context to tweak it from there.

I also used it to reformat some repetitive imports for me. There are 15 sound files in the app, instead of writing each line myself I gave ChatGPT this prompt:

“Given this string, repeat it 15 times but replace 1 in the string for the next number in the sequence: const sound1 = require(“./Sounds/1.mp3”);”

It easily gave me:

const sound1 = require("./Sounds/1.mp3");
const sound2 = require("./Sounds/2.mp3");
const sound3 = require("./Sounds/3.mp3");
// etc.

Could I have done that in another way? Yes, absolutely. I’m sure VIM users are screaming right now about how I wasted my time. Heck, I bet excel could do it even faster. However, it was fast enough for something quick like this. I could see formatting being a strong use case for integrating LLMs into text editors.

Lastly, for kicks I sent the text of this post through ChatGPT and asked it to rewrite it for LinkedIN. I hated the result! If I was on a deadline to get something handed in I might have felt differently about what it gave me.

What did I learn?

I feel much more confident about the current state of React Native and it’s nice to get my head back in the space of thinking about making games again! I’m still a curmudgeon about LLMs for certain things, although do find value in them for documentation lookup style tasks.

And, if Sound Buttons gets any updates I have plenty of ideas for what to do next. It probably needs a settings page to tweak colors, shapes, speeds, and sounds. And a credits screen as well. Maybe a way to track how many buttons you pressed during each session? There’s always more to do! I’m confident that the structure of the app can easily support those new features, which is a great place to be for an initial launch.

Go check out Sound Buttons on the iOS App store!

Night Lights a Toddler Toy Update

Always fun opening an old code base!

Years ago a friend and I published an iOS app that we designed for our (at the time) toddlers to play. It’s a really simple colors, shapes, and sounds app that is purposefully designed to not be annoying for parents. That’s an underserved niche on the app store!

It’d been a while since we did an update and Apple had pulled the app down. I finally got a spare day to open up the project and get it updated. For the most part the update involved getting it to work with the modern version of Unity and then ripping out and redoing our audio engine. The plugin we relied on was no longer usable. I reworked it to use Unity’s audio engine instead. Then fought with app store connect off and on for a day and now we’re back in business:

Night Lights Toddler Toy on the iOS App Store

Converting a Yuba Boda Boda into a Cargo EBike

Last week I finished converting a Yuba Boda Boda Step-Over from an acoustic bike to an electric bike. I’ve now taken it out on a few rides to the gym and to downtown (once with a kid on the back!) and can confirm that it works very well. It’s quick, quiet, and rides smoothly.

I still need to tweak the speed settings because out-of-the-box it, uh, can go a little faster than I’m comfortable with. 

The quick overview:

  • Motor: Bafang BBS02B 750W (CAN bus version)
  • Display: DPC010
  • Chainring: 52-T
  • Battery: 48v 17.5ah battery

I ordered from Lascycle via Amazon. What arrived was from Varstrom. So it goes.

Why Convert vs. Buy

For two reasons: cost and functionality.

We had a Blix Packa Genie, which is direct-to-consumer cargo ebike that, for the most part, we liked a lot. We (mostly my wife) put 2300 miles on it in around 2 years!

However, it was plagued with mechanical problems throughout its life. A short list of parts that just straight up broke:

  • Seat
  • Adjustable stem
  • Brake levers
  • Multiple kickstands
  • Battery

All of that was workable, albeit annoying. The demoralizing part was how the rear hub kept chewing through spokes. Also the brakes kept needing to be bleed and adjusted. It was in and out of the shop constantly. Either my garage shop, or a series of bike shops.

To make matters worse, since everything was slightly nonstandard any repairs took much much longer waiting for parts to ship from overseas. At one point we had to rebuild the back wheel and it took a full month to get the correct spoke/nipple combination sourced.

In spite of all of that when it worked it was wonderful. Here’s a photo of a very chilly 4 year old saying goodbye to Tote-toro when we finally sold it:

After all of that we knew that whatever replaced it needed to be a mid-drive motor and use readily accessible components. A throttle was also non-negotiable for getting the bike going “off the line” (read: slightly uphill with two kids on the back). 

We’d been saving money to go buy a new ebike from a manufacturer; however, none of the mid-drive models that come directly from cargo ebike makers have throttles. That meant we needed to look into doing a conversion. This also meant that we’d be saving quite a bit of money.

What did we get?

We have a friend in the neighborhood (hi, MG!) who has converted a few of his Yubas with Bafang kits. Another friend (hi Sam!) has had a handful of Yubas and speaks highly of them. Since two of my bike friends like Yubas that’s what we settled on looking for.

That started a few months of looking at Facebook Marketplace (RIP Craigslist, no one uses you anymore) for an appropriate donor bike. Eventually we found a listing for two boda bodas down in Columbus. I had a day off of work so I rented a minivan, drove down, stuffed them in the back, and drove back up. Both bikes were around $1300. We’ll likely sell the green one.

I waffled a lot on where to get the bafang kit and eventually landed on amazon. You can go cheaper if you order from AliExpress. You can go more expensive and order from an American reseller like Johnny Nerd Out. Everything has its advantages and disadvantages.

For me it came down to ease of ordering and price. Now that I’ve seen what you get I’d be comfortable ordering the motor from wherever and the battery separately from a reputable source.

Here’s the full list of what we got. Total was around $1000:

  • BBS02 48V 750W Mid Motor, 68mm bottom bracket, CAN bus version – the UART version (if you can find one) is more programmable with a cheap cable. Everything I anticipate doing we can handle via the display. An important note is that Bafang has phased this motor out in favor of new M-series motors. There’s still a lot of BBS02’s out there for sale though.
  • DPC010 Display – this was an upgrade from the stock display. It looks nice and probably isn’t strictly necessary. Buried in the options on it are ways to tweak the power output at each of the assist levels.
  • 52-T Chainwheel – my wife is extremely fast on bikes and was always wishing she didn’t ghost pedal on our old bike. This should help with that. Plus, we live in a relatively flat area so we don’t need gearing to support steep climbs.
  • 48V 17.5aH Shark Battery – Hailong battery advertised as having L/G cells. This is the size we had on our old bike and it should suit our needs for this bike well enough.
  • Mechanical brake levers – after my experience with hydraulic brakes on our old bike I have been left fairly unimpressed by hydros. The stopping power on the mechanical brakes on this bike has been just fine.
  • Gear Shift Sensor – I haven’t installed this yet. I will! Right now to shift gears safely we need to gently hold down the brake lever to cut power to the motor, shift, and then release the lever.
  • Everything else in the box – headlight, throttle, cabling, nuts/bolts, and tools for installation. It’s way more thought out than I expected.
  • Cable management – lots of zip ties
  • Ebike Battery Plate – this is a metal plate that goes between the frame and the battery holder. It gives a little additional clearance since the Yuba Boda Boda has curves on the tubing.

Depending on how much we sell the green step-through model for we’re sitting at around $1600 for a cargo ebike, which is not bad! We paid more for our Blix and I expect this one will have fewer issues.

Installation Process

Installation took me a few weeks because I’ve got small kids and it was frigid outside in the garage. If I did it again I think it’d be 2-3 hours. Maybe a bit less. There are plenty of excellent youtube videos that show how to do the installation. It’s really straightforward!

The only notably tricky things on the Yuba are mounting the battery and mounting the speed sensor. For the battery I got a mounting plate to add a bit more distance between the frame and the battery holder. As it is there’s still a bit of plastic I am thinking about cutting away so it can sit a bit closer to the frame.

For the speed sensor I have it temporarily mounted on a small piece of wood to get it close enough to the magnet on the spoke. I have an extension cable waiting for me to install so I can move it closer to the axle of the wheel.

Should you do this?

I think everyone should try an ebike at least once! They are an excellent way of getting around and, frankly, we all need to drive less so anything that replaces a car trip is good news. For most people they should go buy a decent ebike from a good shop that will service it for you (if you’re in or around Ann Arbor, go to Wheels in Motion or Human Electric Hybrids).

That said, if you like working on your bike and want to save many thousands of dollars on an ebike: yes! I’ll check back in a few thousand miles to see if anything has changed. My suspicion is that we’ll still be pretty happy with it.

Just as a side note: there’s a big jump in price between direct-to-consumer cargo bikes with sketchy quality control and customer service and then ebikes that you can buy at a reputable bike shop. You go from around $2000 up to $5000 (and beyond!) quickly. If you have time and don’t mind having to source components and diy fixes a DTC ebike can be a great value! My advice for a DTC bike is to immediately get your wheels trued and tightened by someone who really knows what they are doing. Those hub motors are not kind to spokes!

“So what’s next?”

Last week, along with a cadre of incredible people, my time at SkySpecs came to an end. Everyone I worked with there was smart, driven, and a joy to be around. I’m immensely proud of the work we were able to do together. Go hire all of them! Your organization will be better for it. Be quick about it though, they are not going to last on the open market very long.

This does mean that I’m also on the hunt.

If it’s been a minute since we’ve talked and you’re wondering “just what does Chris do these days?” here it is: I’m a full-stack—with a tendency towards the front-end—engineer who is deeply (deeply!) interested in how technology can help people solve their problems.

That manifests in a variety of small ways like “how can we make this interface a joy to use?” and then larger ways like “how can we architect these features to be immediately useful to the user and extensible in the future?”

I got to here via a strange route that wound through content management and then capital-D Design work. All the while I was coding solutions to problems at work. 10 years ago I started a videogame studio on the side with some friends. 5 years ago I finally landed at my destination as a full-time Software Engineer.

For the past 3 years at SkySpecs I solved problems with React, JavaScript/TypeScript, Node.js, GraphQL, PostgreSQL, and AWS. A few highlighted projects:

– A greenfield tablet app for drone pilots in the field to view in-flight alerts and safety checklists
– A new cost/time tracking system for coordinating repair work between in-office and in-field teams
– A templating and automation system for users to schedule recurring work

If you’re looking for an engineer like me, or want to get connected to some of my excellent colleagues, let’s talk!

This was originally a post on LinkedIN. Wanted to have it over here as well.

A Short Synopsis of Types in TypeScript

A year or so ago I was working with an intern who was new to TypeScript. It made me realize that getting up to speed on syntax for types can be somewhat tricky. At the time it was hard to google for answers to basic questions (I think the age of LLMs being everywhere has mostly made this easier). I wanted a one page cheatsheet for the basics of using TypeScript to be able to point people towards.

“Go read the docs” is great advice for someone who knows what they are doing and less great if you’re lost in a sea of brand new information.

This is by no means exhaustive. The idea is that this is a quick reference for basic information. If you think there’s anything that you consider “basic” that should be here, let me know!

// Setting types for a variable:
let foo: string;
foo = "string";
// Will result in an error of: "Type 'number' is not assignable to type 'string'."
foo = 1;

const bar: number = 1;

// Define a type to be used as an argument
type ArgumentType = {
  name: string;
  anotherProperty: string;
};

// Define another type that'll be used as a return type
type TypeUsedForReturn = {
  returnString: string;
};

// Interfaces use a slightly different syntax
interface UnusedInterface {
  name: string;
  anotherProperty: string;
}

// Syntax for an arrow function with typed args and a return type
const arrowFunctionName = (argument: ArgumentType): TypeUsedForReturn => {
  const { name, anotherProperty } = argument;
  return {
    returnString: name,
  };
};

// The same as above written as a plain function declaration
function functionName(argument: ArgumentType): TypeUsedForReturn {
  const { name, anotherProperty } = argument;
  return {
    returnString: name,
  };
}

// Arrow function with destructured args and a defined return type
const arrowFunctionDestructured = ({
  name,
  anotherProperty,
}: ArgumentType): TypeUsedForReturn => {
  return {
    returnString: name,
  };
};

// The same as above written as a function declaration
function functionProperty({
  name,
  anotherProperty,
}: ArgumentType): TypeUsedForReturn {
  return {
    returnString: name,
  };
}

// Alternatively, make a type that defines args and a return type for the whole function:
type TypingAFunction = (argument: ArgumentType) => TypeUsedForReturn;
const arrowFunctionWithType: TypingAFunction = ({ name, anotherProperty }) => {
  return {
    returnString: name,
  };
};

// Use angle brackets when defining a function with a type
function functionWithType<TypingAFunction>({ name, anotherProperty }) {
  return {
    returnString: name,
  };
}

// Typing when the function does not return anything
type TypingAFunctionWithNoReturn = () => void;
const noReturn: TypingAFunctionWithNoReturn = () => {
  console.log("This space intentionally left blank");
};

// Inlining your types
const inlinedTypes = ({ name, foo }: { name: string; foo: number }) => {
  console.log("This space intentionally left blank");
};

Adjusting tone arm vertical travel and the motor speed on a Denon DP-300F

Recently picked up a used Denon DP-300F for a very good price from FB Marketplace. The price was due to a few issues it had that I was pretty sure I could fix. The seller disclosed the first one and the second one was a surprise:

  • When you hit play or stop the tone arm wouldn’t raise up enough and would drag the needle on the record
  • The audio was about 5% too fast

Both adjustments, now that I have done them, were easy to do with a few screwdrivers. I’m writing this post to serve as a reference for myself and hopefully for someone else out there who has the same issue and doesn’t want to go digging through forum posts and youtube videos like I did.

Travel Issue

For the travel issue there’s a screw on the lifter that if you turn will set how high or low the arm moves when using the automatic start/stop feature. Move the lifter lever in the up position and move the tone arm out of the way to access it. You’ll need to fiddle with a bit to get it right.

Speed Adjustment

Adjusting the speed is trickier. I’m not sure why Denon buried the adjustment. I guess aesthetics? Anyway, it’s on the base of the turntable and there’s a slot for the 33 and 45 speeds. You have to put a screwdriver through the hole and then push it through a foam membrane to get to the trim pot. Since you’re doing this essentially blind it is way harder to locate than it should be!

This post on the VinylEngine.com forum was key to understanding what is going on:

The pot (adjustment) knobs are an open (female) plus sign design. This means a too big screwdriver will not fit through the pot frame hole and a too small screwdriver falls through the open + slot. The correct size is about the width of a dime. You can lay your screwdriver with blade perpendicular to the table up against a dime and run your fingernail across to feel which is taller. I’ll say up to a penny will work but at a penny it starts dragging on the pot frame. 

The pots rotate about 340 degrees (almost full turn; typical for pots) with some drag. If you think you are turning several times with no effect, you are not turning the pot.

Recommend, even with the right size, doing this unpowered or with a plastic / nylon screwdriver since you can blow the motor op-amp very easily. The pots are soldered to the underside of the board here. Holes in the board provide some guidance, but also hot spots when powered.

I’ll note that if you touch the metal screwdriver to metal inside of the record player it will short it and make the motor run as fast as it can! I used the RPM app to adjust the speed and it requires you to put your phone on the platter itself (raised up in the center on something circular like a tape dispenser roll). Whenever I shorted it it would send my phone flying off due to centripetal force (someone fact check me on my physics knowledge)!

You really do need to use a dedicated screwdriver for this, not a bit. If, like me, you try a bit the shank will likely be too wide to allow you to get the depth that you need and you will think you are adjusting the pot when you are not.

What you’re looking for is a set of “precision screwdrivers” or jeweler’s screwdrivers. I ended up buying this set from Home Depot and using the 1/16″ flathead. Anything along those lines should work.

Here’s what the holes look like. Again, there’s some foam you push the driver through:

This setup worked well for adjusting it. Open the cover to provide a counterweight and then hang the front left foot off of the edge making sure the other three are securely there.

Then you can reach underneath to put the screwdriver in there and start moving it around until you get purchase on the trim pot and can adjust the speed:

Let’s Encrypt SSL Certs on Namecheap

I’ve been very happy with my move to Namecheap for hosting. The only downside so far has been their SSL certs. They don’t support Let’s Encrypt in their cpanel and instead make you pay for certs. The first year, however, is free! Well, it’s been about a year and I started to get emails about renewals. Reasonable prices, but would have added up to a lot for the number of websites I have on their service.

I went looking around for a way to do certs via let’s encrypt and finally found this guide that uses Acme to add/handle certs:

Simple guide to add TLS cert to cpanel

If all goes well about once a day it’ll check to see if I need a new cert and handle it for me.

Caldigit TS3 Plus Audio Jack and Spotify

March 12 2025 update: nope, happening with Plexamp as well. Guessing this is just a problem with the Caldigit dock and M1 macbooks. It does seem to get worse the more than is going on with my computer. Probably related to system resources.

Feb. 24 2025 update: I switched to using a usb-c to headphone jack adapter (still connected to the Caldigit) to see if that would have any effect. Still the same issue. Recently though I’ve started using Plexamp as my music player and that’s been rock solid. My guess is there is something up with a library or API for playing audio that Plexamp does not use and the others do use.

Jan 12 2024 update: Zoom is definitely triggering the issue. Turning off the EQ in spotify has solved it for Spotify. I think when Zoom is trying to aggressively process audio it can sometimes trigger the issue across the system. Leaving the zoom call fixes it. As near as I can tell there isn’t a way to adjust Zoom’s settings to fix it.

Dec 19 2023 update: Zoom seems to trigger this issue somehow.

Currently attempting a fix by disabling the equalizer in Spotify. Will update this post if that doesn’t work.


This is one of those “blog about it to save someone else the hassle later on”: I use the Caldigit TS3+ dock with my M1 macbook(s) and have had a persistent issue with audio playback slowly becoming garbled and distorted when listening to music in Spotify. For whatever reason it seems that selecting a different audio source and then going back to the Caldigit one fixes it for a while.If I plug the audio cable directly into my macbook it never seems to have a problem.

The actual audio input shows up as a USB 3.0 device in System Report called: “Caldigit Thunderbolt 3 Audio”.

It also seems to effect Zoom, although I haven’t determined if that’s because Spotify is also open at the same time Zoom is open.

Something I discovered today buried in a forum is that the Spotify Equalizer might be a problem. I’m going to disable that and see how it goes for a few weeks. An hour in and it seems to be doing better.

Do you have any thoughts on programs or stacks for learning web development?


A friend asked me this recently and I wanted to capture my response. I’m curious to look back on it in a few years to see what will have changed.


Assuming they want to work on the web: there’s a few primary categories of programming computers you need to know about:

  • Command Line
  • Scripting language (with a backend focus)
  • Database
  • HTML, CSS, and plain ol’ JS
  • Frontend framework
  • Version Control
  • Hosting

I do think it’s important to understand a little bit of everything above. Even if, say, you end up as a front-end engineer you’ll be happy if you know about databases. Likewise back-end engineers should understand how all those services they’re writing will be used to present that information to the end user.

Command Line

If I could go back in time I would take a whole class on the command line. The reality is that you’ll be using it every day and without understanding the basics a lot of other parts of coding will just not make sense. Plus, it’s useful to understand what you _can_ do on the command line since sometimes that’s the best place to do your work.

Oh, and learn just enough Vim to open a file, make a change, and save it.

Backend Scripting

Some sort of backend scripting language. JavaScript could be an answer! Python is another strong choice. It used to be PHP and still is if depending on your company. What you use here will probably change at some point in your career so don’t get too attached. The core idea here is that you can use this language to do “backend things” like changing data in the database, or processing files, etc.

Databases

A relational database of some sort. MySQL or PostgreSQL. If you get into this it goes deep, but to start with you just need to understand how to make some databases, tables, and data.

Front End

HTML, CSS, Javascript

You should have some foundation of how to put a page together using HTML, CSS, and JavaScript. All frontend frameworks are just fancy ways of using these basic tools. My soapbox rant is that we’ve lost sight of that in the web world. You need essentially nothing to get text on a page at a domain name!

Frontend Framework

In 2023 I would recommend React. In 2024 it will probably be something else. The concepts should, mostly, transfer easily to whatever the next thing is. Get used to pining for some feature of some other framework. Get used to conversations about frameworks that start with “I’ve heard good things about…”

Version Control

Git. You don’t need to start with version control, but as soon as you can you should start implementing it into your workflow. If you work with other people you HAVE to use version control otherwise you’ll end up losing work or reinventing a worse version of Git in dropbox (ask me how I know!)

Hosting

You can make all of this work on your local computer, but the magic is putting it somewhere else and seeing it work elsewhere. There’s a deep rabbit hole here. Pick a cheap host and figure out how to get it live. You do not need to dive into AWS/Azure/Cloud infrastructure right now. You will need to later on!

What about Bootcamps?

If they want to go to a bootcamp the answer to “Which boot camp is best?” is constantly shifting. I would ask very recent graduates (as in: graduated in the past year) if they would recommend it. I certainly wouldn’t go to a bootcamp that doesn’t have a money back guarantee or some sort of job placement scheme. Your goal with a bootcamp is to get enough knowledge to land your first job. Everything you do in that bootcamp should be oriented around that goal.

Conclusion

I’ve been making websites for years and years and there’s still so much left to learn and everything is changing constantly. Getting comfortable with learning (or just being confused) is a key part of the job. The reward is that when you get things working the feeling is amazing. There’s just a lot of times where it’s not and that’s okay!

DuPage County Hardcore

There was a surprisingly robust hardcore music scene in the extremely suburban county I grew up in. I was never fully in that world for a lot of reasons; however, I hung out on the periphery and have a fondness for it.

Recently I ran across the work by Dave Hofer to digitize the music and video from that time period. It’s amazing to me just how much of that exists! This was before the ubiquity of cell phones and digital cameras. Apparently a lot of people thought to record what was going on and I’m sure I rolled my eyes at this effort back then and now I’m very glad for it.

Hofer’s youtube channel is full of concert videos and it’s wild to watch these. The music is often unlistenable (a really “you had to be there” sort of sound), but seeing glimpses of people I knew back in the day having a lot of fun playing music or just jumping around is delightful.

Strength in Numbers

I quickly scanned through this video and while I don’t think I was at this concert I was definitely at similar show in that basement for Strength in Numbers. As a parent I have to admit I’m a little alarmed at all these kids throwing elbows in a finished basement. That said, I also not-so-secretly hope my kids do the same someday: