The past few days have been spent staring at the floor. Prepping them with the help of a friend (thanks, M!) and then so much sanding with another friend (thanks, K!).
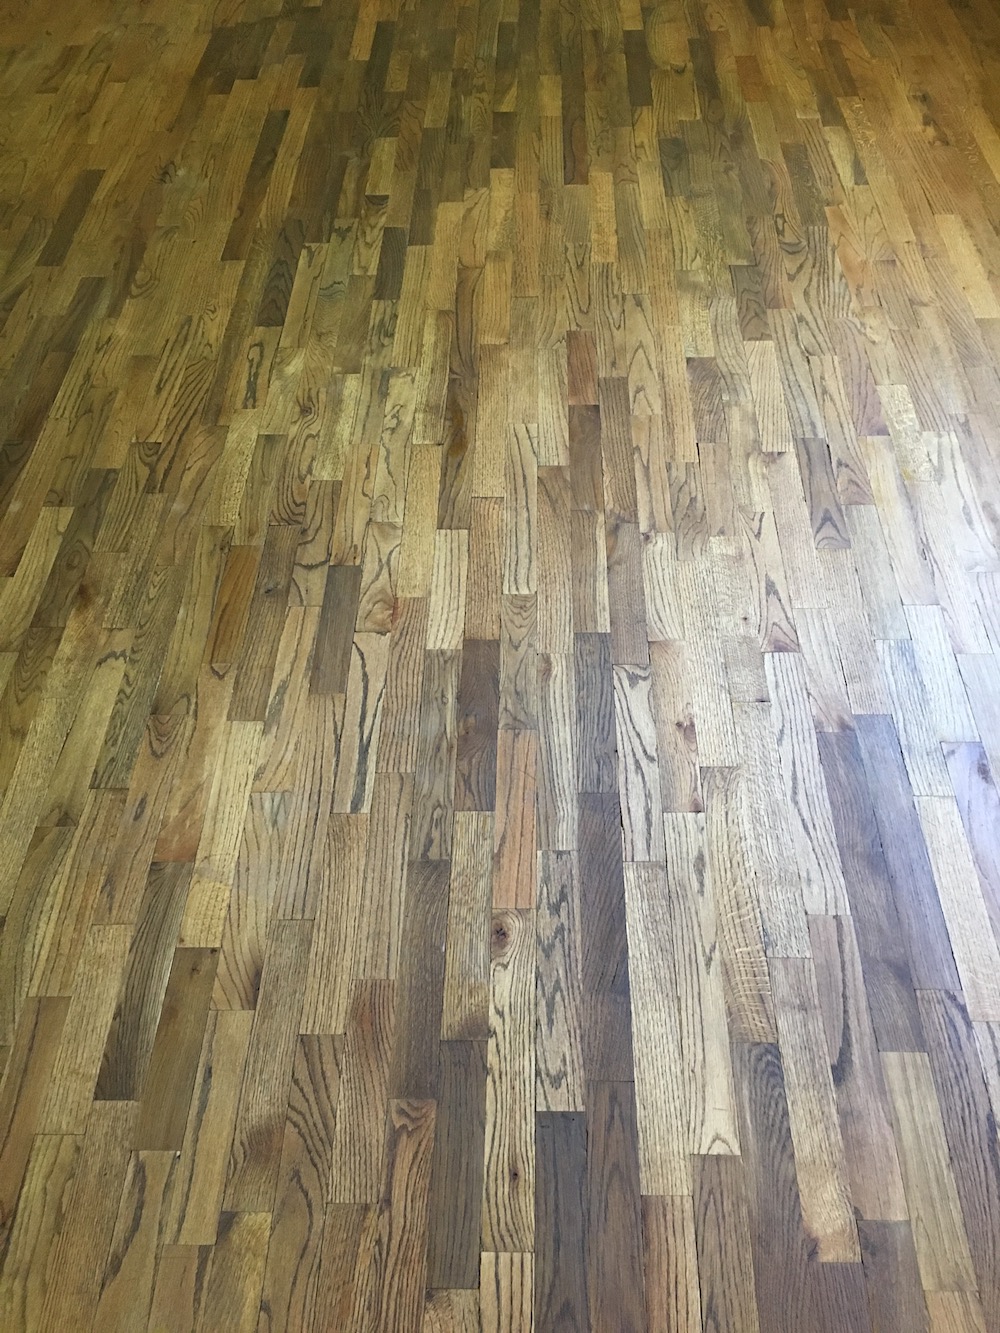
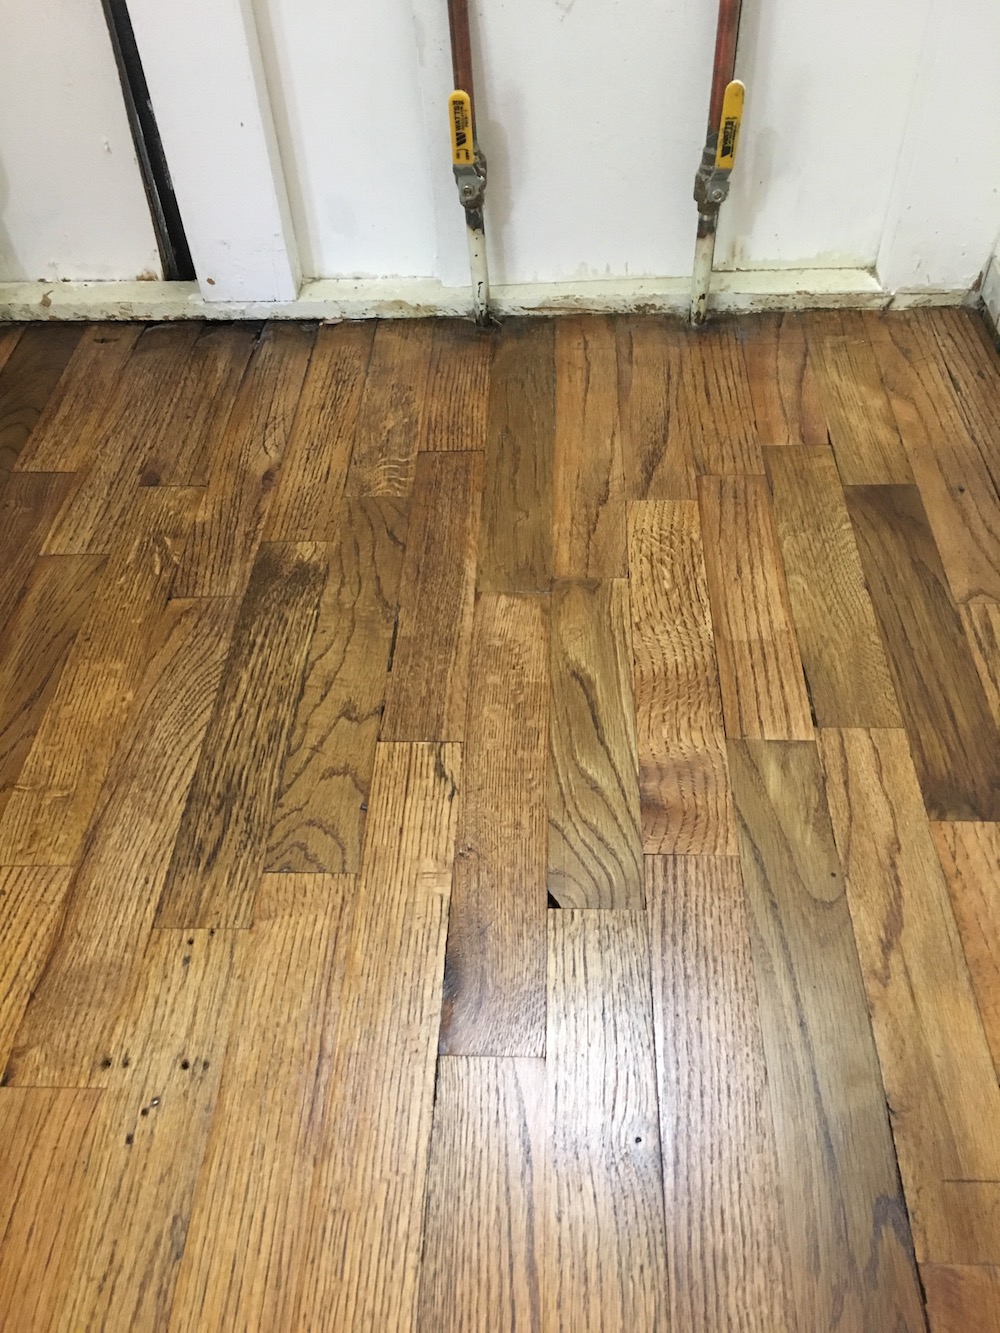
Here’s a portion of the floors before we did anything:
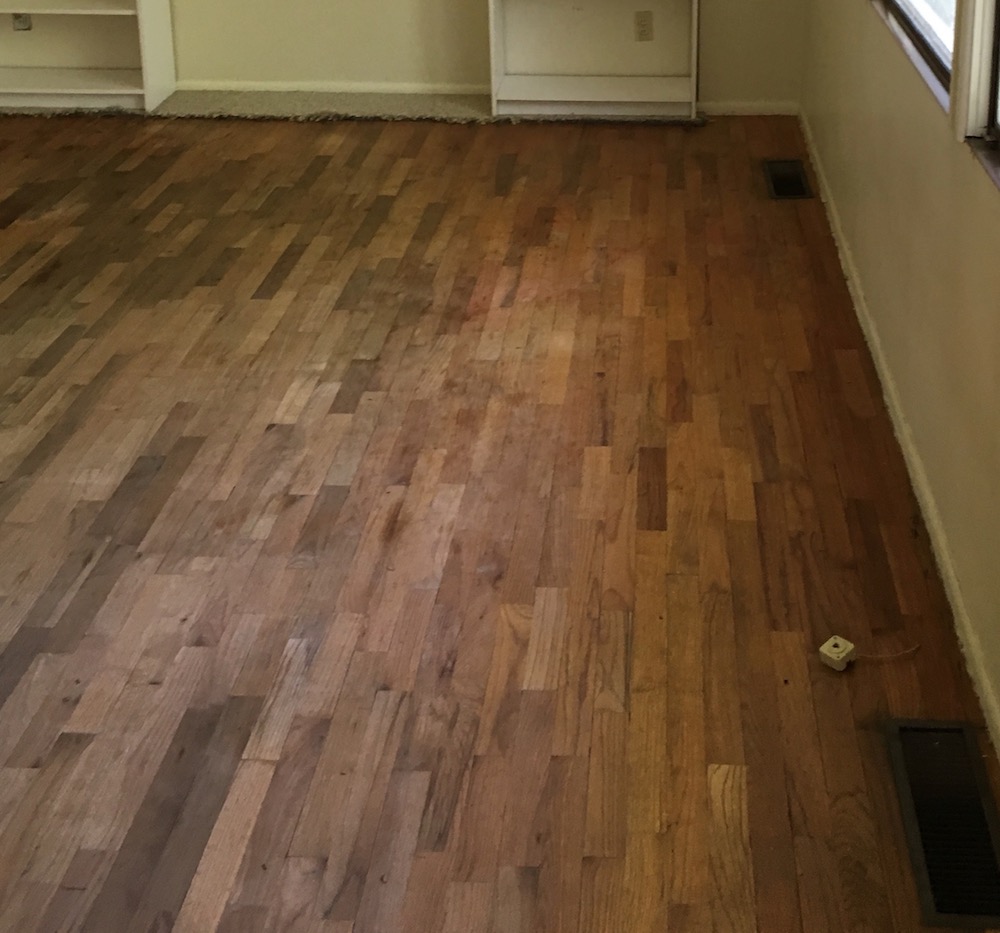
What followed was a lot of prep. The previous owners had carpet everywhere which meant staples and nails (they also had pets they didn’t take care of, but that’s a whole other issue). Even with no furniture in the house this took forever. Every time I thought we were done there’d be something else I’d overlooked (“got all the doors off, check. Oh, right, closet doors too…”).
Friday was supposed to be the first big day of sanding. The plan was to use a large orbital sander instead of a drum sander. Slower, but easier to handle for someone who didn’t know what they were doing. I got the sander got home and realized that I wasn’t nearly as ready as I thought. More prep and moving things ensued. By the time I was actually ready to start the sander it was 4 hours later than expected. Managed to do one pass just to prove I could and then left for the night.
On Saturday K came over and we clocked a twelve hour day of sanding, vacuuming, and running to the hardware store. If he hadn’t come I don’t think I would have finished this. Three cheers for K! We did stop for lunch, dinner, and ice cream. I’d rented a fancy powerful edger which proved to be more trouble than it was worth (YMMV). We returned it and bought a hand-held orbital sander that took longer, but gave more even results.
It took four solid passes with different grits to get to the finish we were looking for (36, 60, 80, 100 for future reference). In retrospect we probably didn’t go deep enough since there are still some scratches here and there. Oh well!
We wrapped up after 11pm and left exhausted. Here’s the only progress picture I have because it was a frantic day. This was my view the entire time:

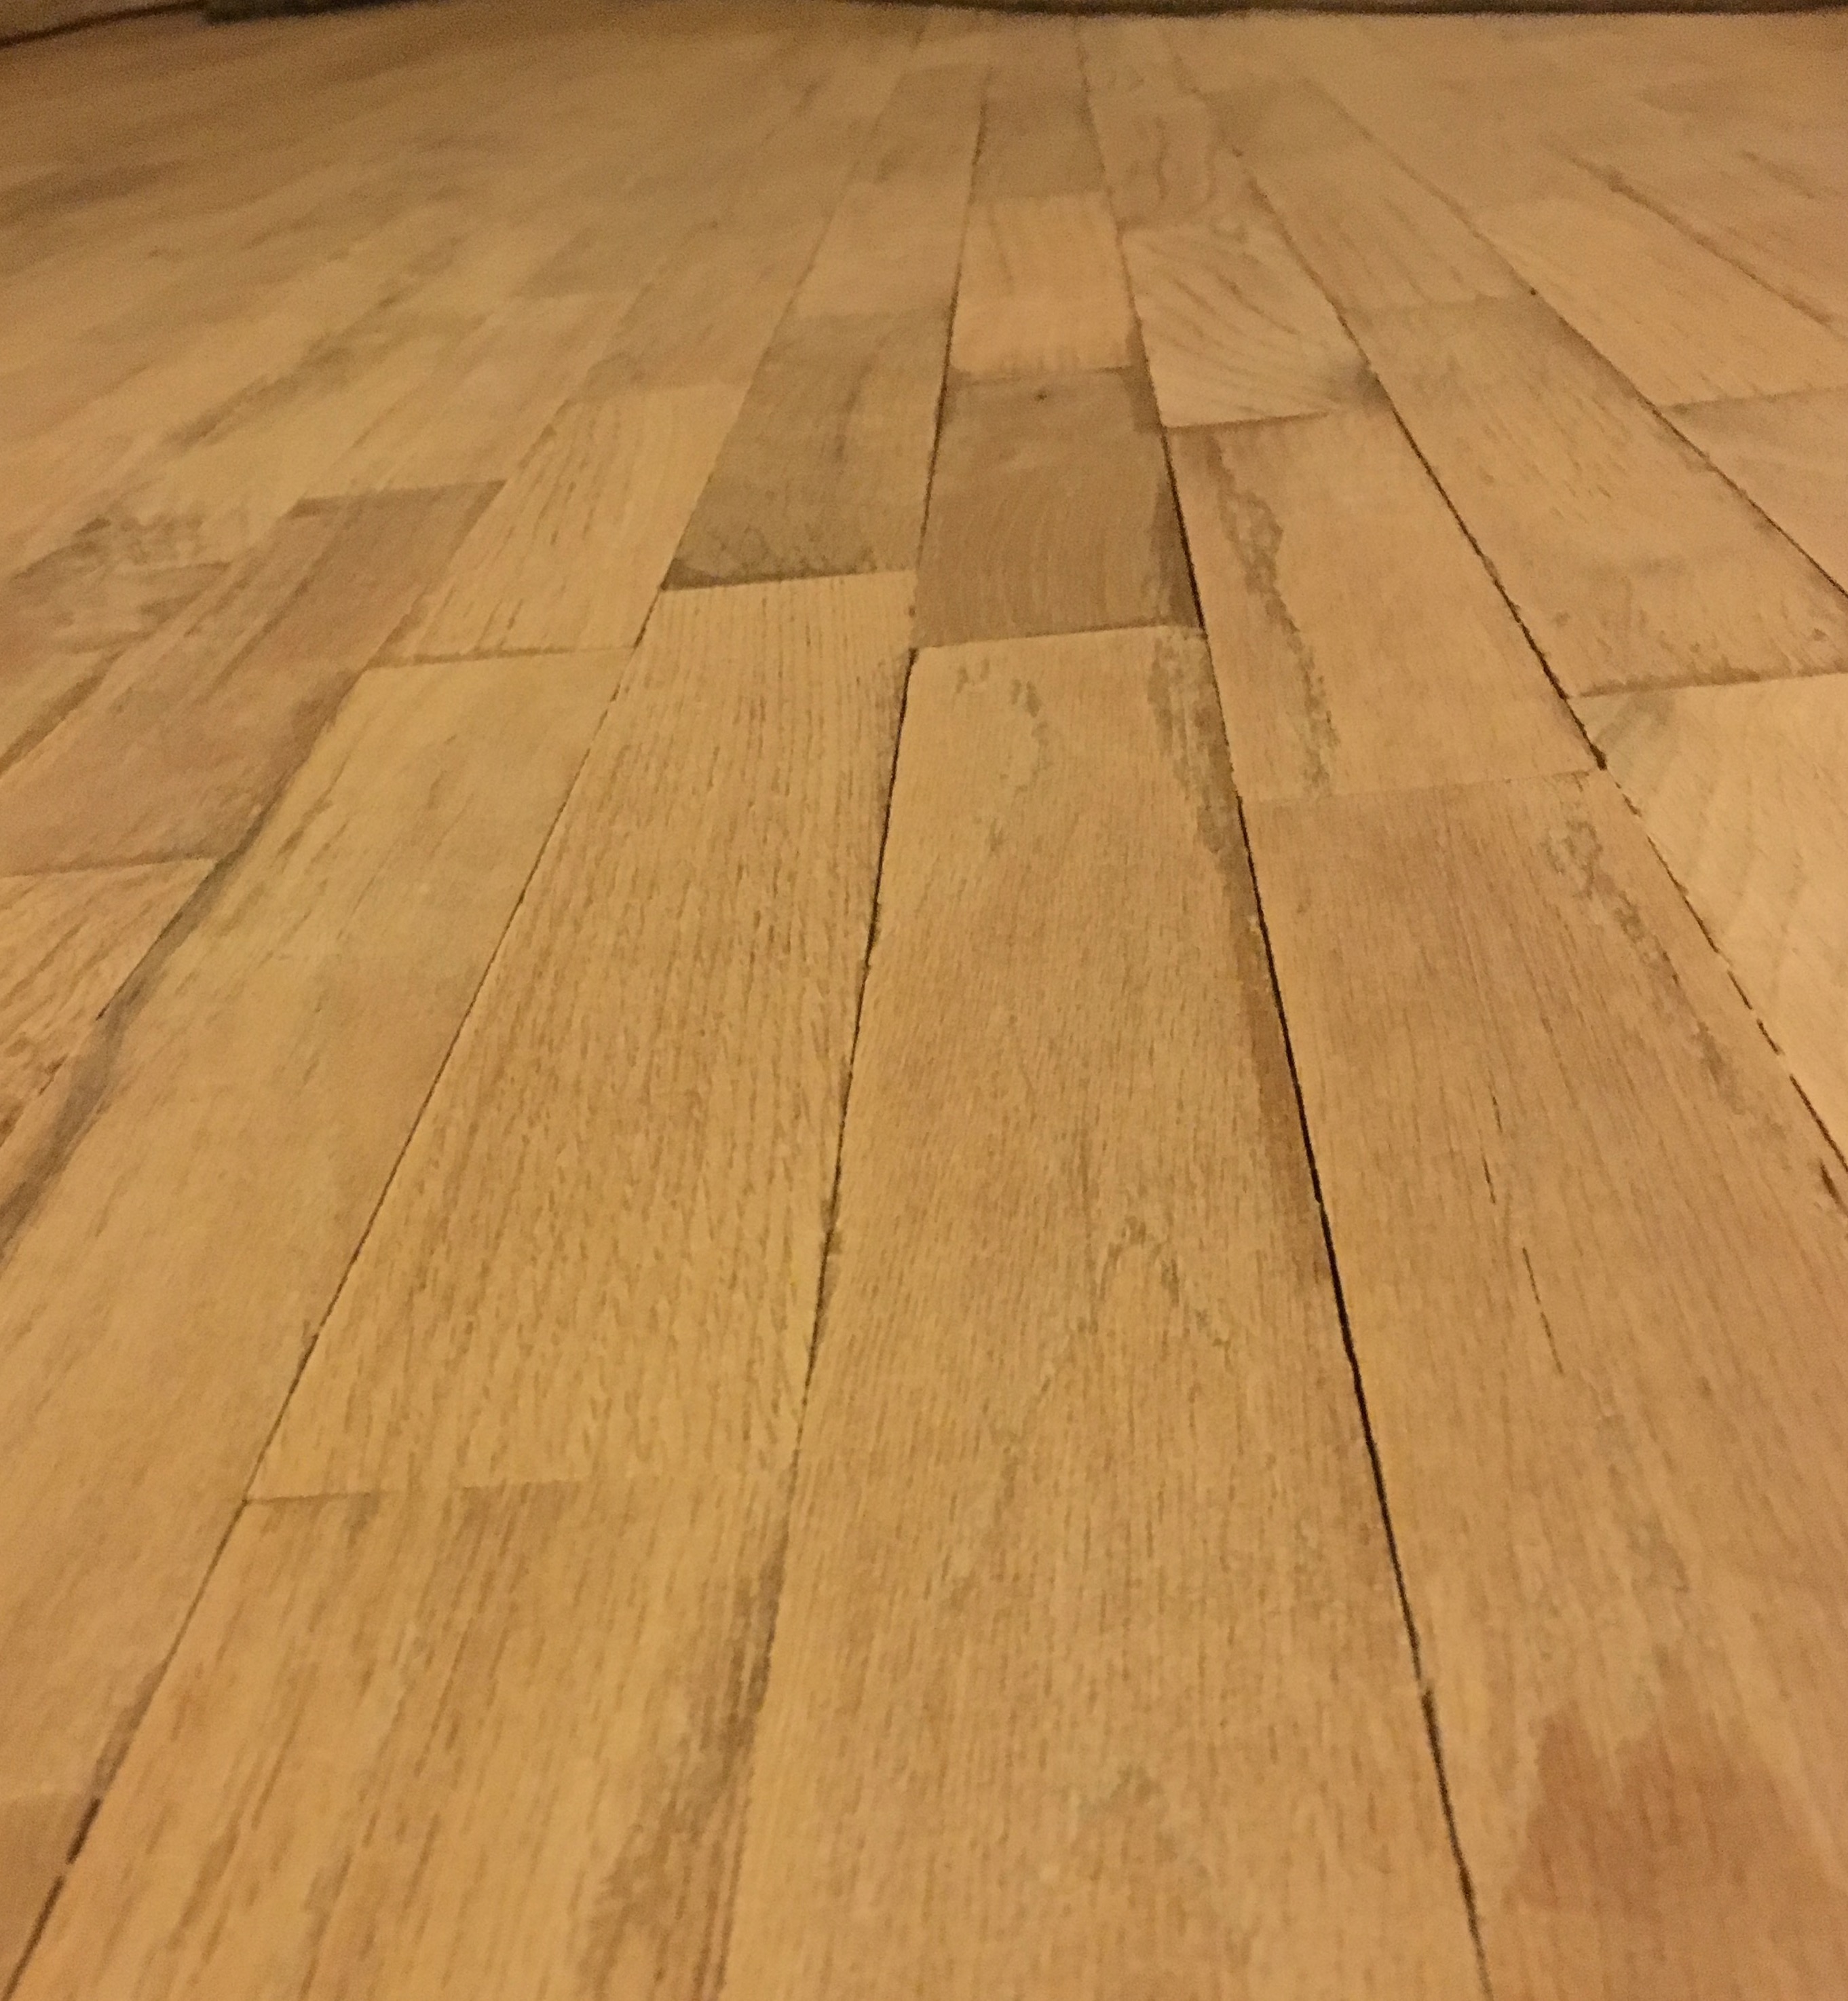
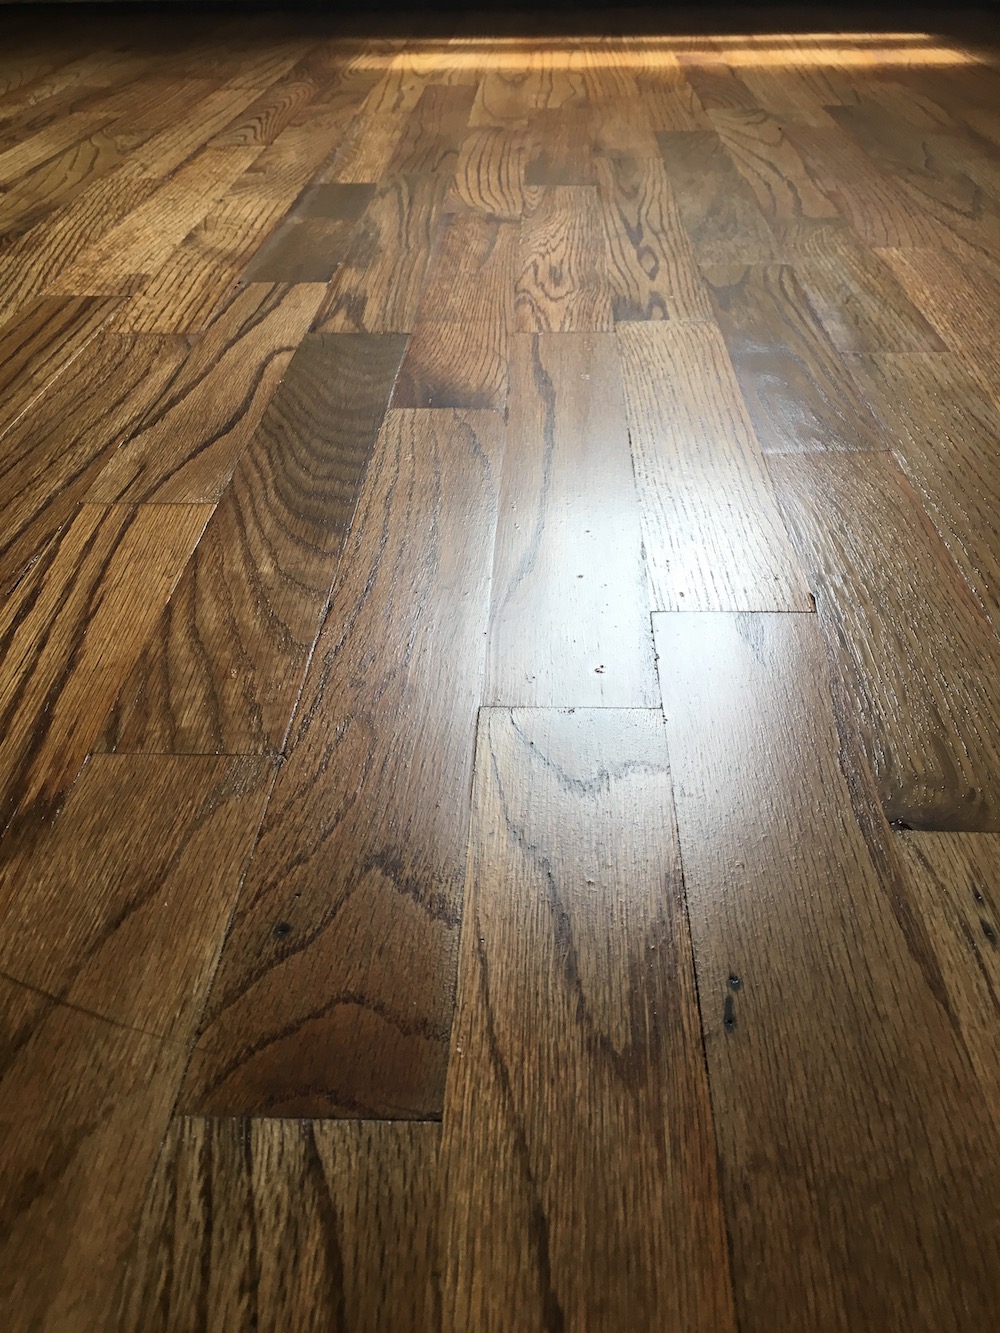
Here’s a few sanded pictures:

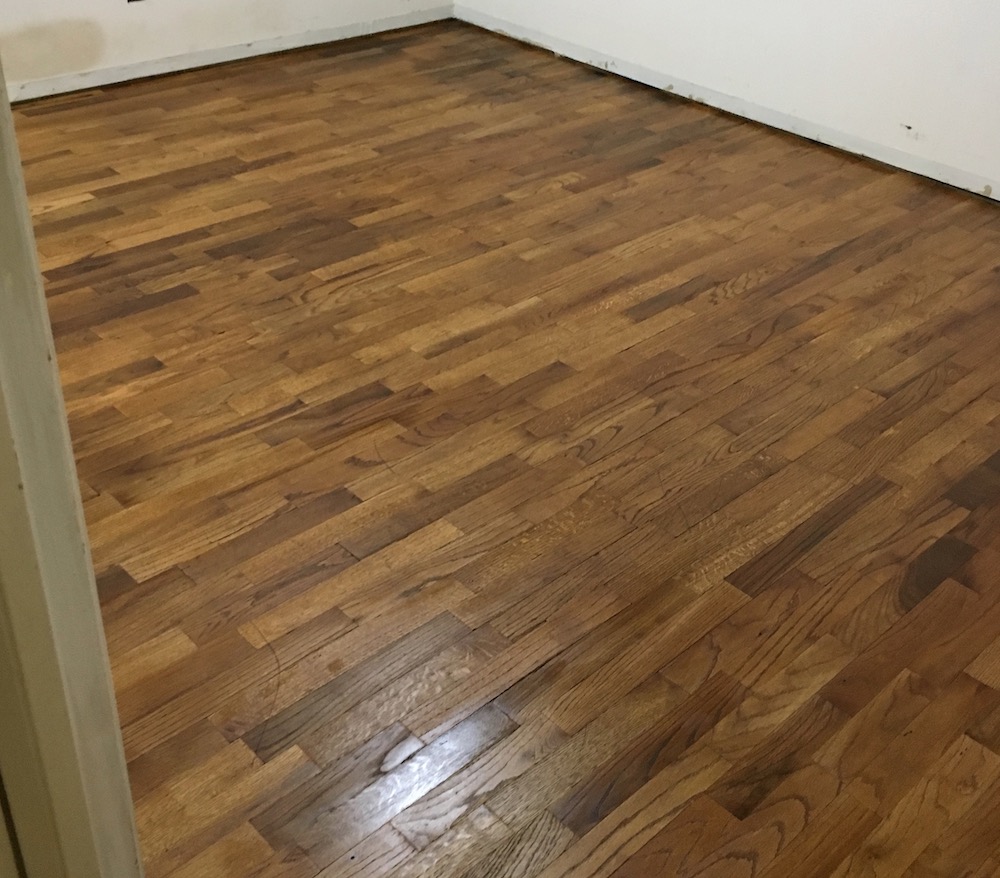
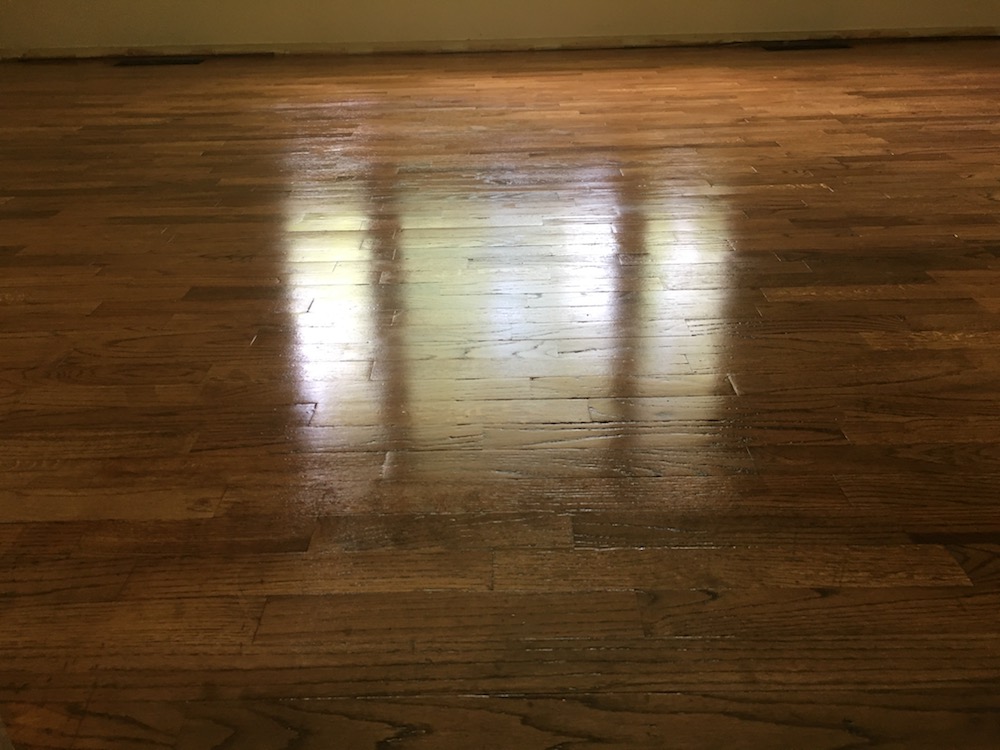
My wife helped vacuum out the place on Sunday and then I put some polyurethane in a discrete location for testing. It looked not great. Here’s the test spot:
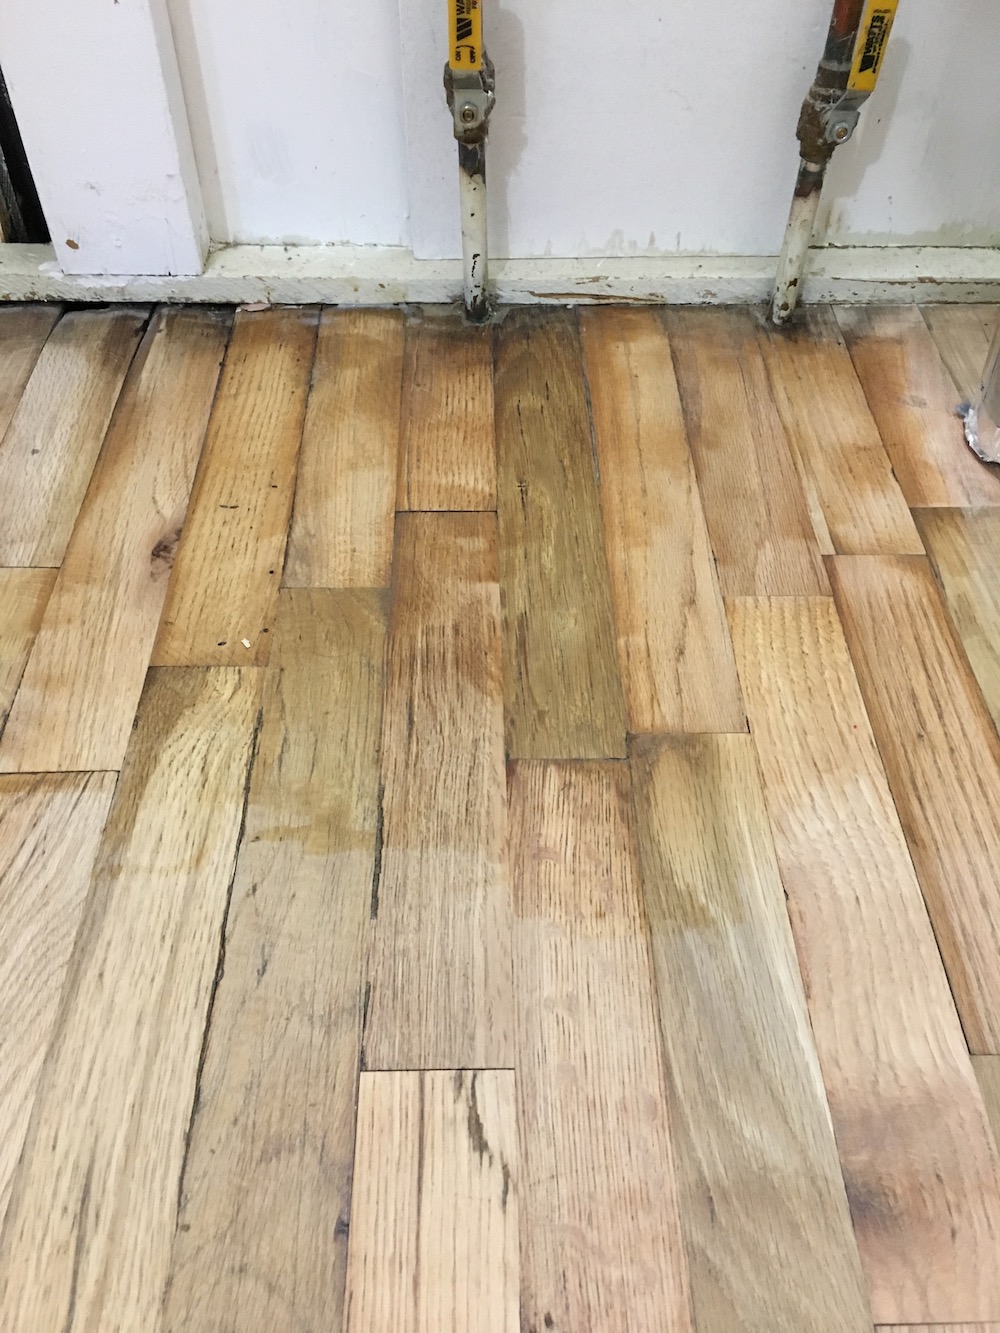
This is admittedly the worst spot in the house, but still was deflating. If we were doing this “right” we’d be replacing the bad planks throughout the house–each room has a handful. Our goal isn’t perfect though (for a lot of reasons, but mainly cost and also because we’re trying to not be too precious about these things). We talked it over and decided to try staining.
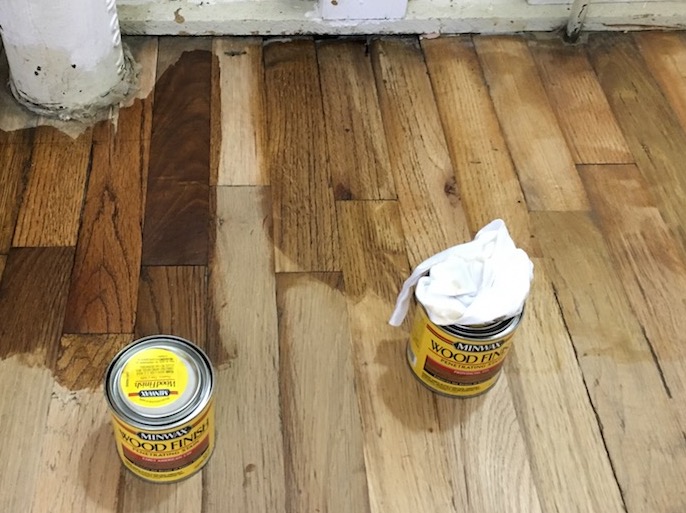
Stains all have great names. It’s like paint colors but aimed at dudes. There was one called “Gunstock”, which is just like…come on. Here’s a few test strips. The left is Minwax’s “Early American” and the right is “Provincial” (the far right is the unstained poly test):
We opted for Early American with the thought that it’d blend all the wood we had in the house together well. Fingers crossed I went and bought a gallon and a quart of it.
That lead to another grueling late night of staining. Hands and knees wiping it on and wiping off the excess with cloth rags. Again finished after 11pm and just managed to shower before collapsing into bed. The result though exceeded expectations:
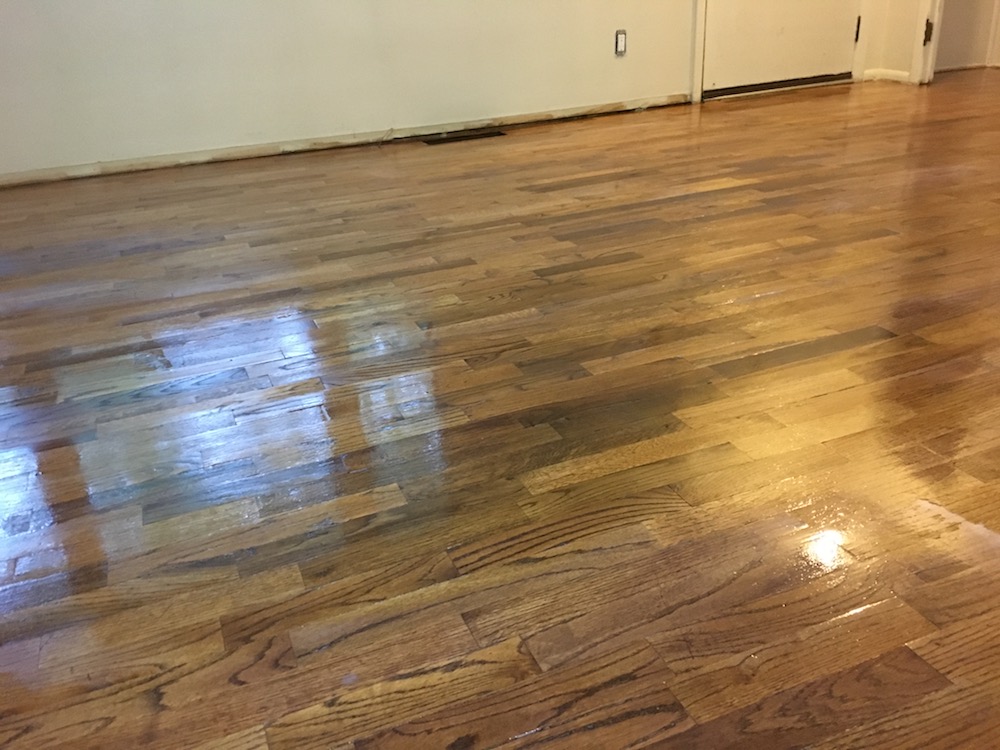
Then on Monday I put the first coat of poly down (we went with Varathane’s water-based floor finish) and it started to shine (I mean, yes, that is sort of the point of poly, but you know).
Here it is right after application:
And here’s the second coat drying:
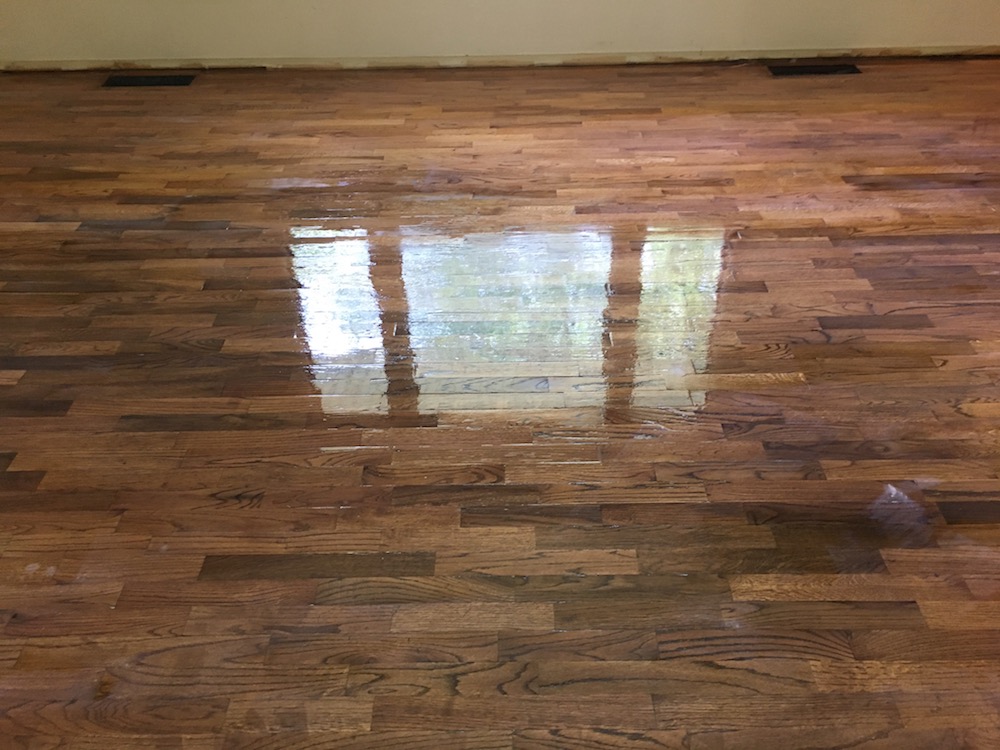
Tuesday morning I put the final coat on and now we wait for 48 hours before we can walk on it:
And here’s the worst corner and what it looked like with 2 coats of poly on it. It’s night and day from what it looked like when we started:
Update on the thursday after: here’s a few more pictures after drying for a few days. It’s a lot glossier than I thought it’d be. Some bubbles and small bits of things here and there. We’ll sand out the egregious ones or just live with them:
Would I ever do this again?
Maybe.
If you’d asked me right after the sanding I would have said absolutely not. Now that we’re seeing the results I am appreciating the “why” behind each of the subsequent steps more.
If we were to do it again I’d be more aggressive with sanding from the start. We started with too high a grit and had to go back to a lower one which added hours to the project. I’d also split up the sanding to 2-3 days rather than trying to cram it into a short a time as possible. I’d also probably have someone show me how to use a drum sander and use it well. The orbital sanders were good enough for this project. I don’t know if I’d have the patience to use them again though.
Lessons learned!