Your NES or SNES is likely not broken. The problem is almost always do to a poor connection between the console and the cartridge. Over time either the pins inside of the console, or the pads on the cartridge, get corroded and encased in funk. Get rid of the offending materials so a proper connection can be made between the two and everything magically works.
How do you do that though?
Don’t blow into it
Really, don’t do that.
If you’re able to get a game to work by pulling it, blowing on it, and reinserting it, all you did is either seat the cartridge in a slightly different place, scraped off some of the gunk onto the internal connectors. Or, worse, the moisture from your gross mouth is facilitating a connection. Whatever the cause, later on the moisture is not going to be your friend, which is why you shouldn’t do this.
If you must force air into it use compressed air. However, unless there’s an obvious bit of fuzz in there, the problem is likely something that’s not readily removable.
Opening things up with Gamebits and Pens
Picking up a set of gamebits–really an inverted torx–for cleaning and repairs is advisable. There are two that you’ll need: one for the console itself and one for the cartridges. If you get a good set it’ll be universal across almost every game system that accepts cartridges. Plus, if you have a good game store nearby, like the excellent Get Your Game On in Ann Arbor, they might have them available. Alternatively, you can order a set from amazon or an ifixit kit that has them included.
My feeling is that if you’re going to do this more than a handful of times it’s worth getting a set. It’ll speed up cleaning since you have more surface area visible to you without trying to peer around plastic.
On to the cleaning
Whether or not you get the gamebits cleaning is about the same: scrape off what you can with dry materials then get the rest with wet materials until it’s squeaky clean.
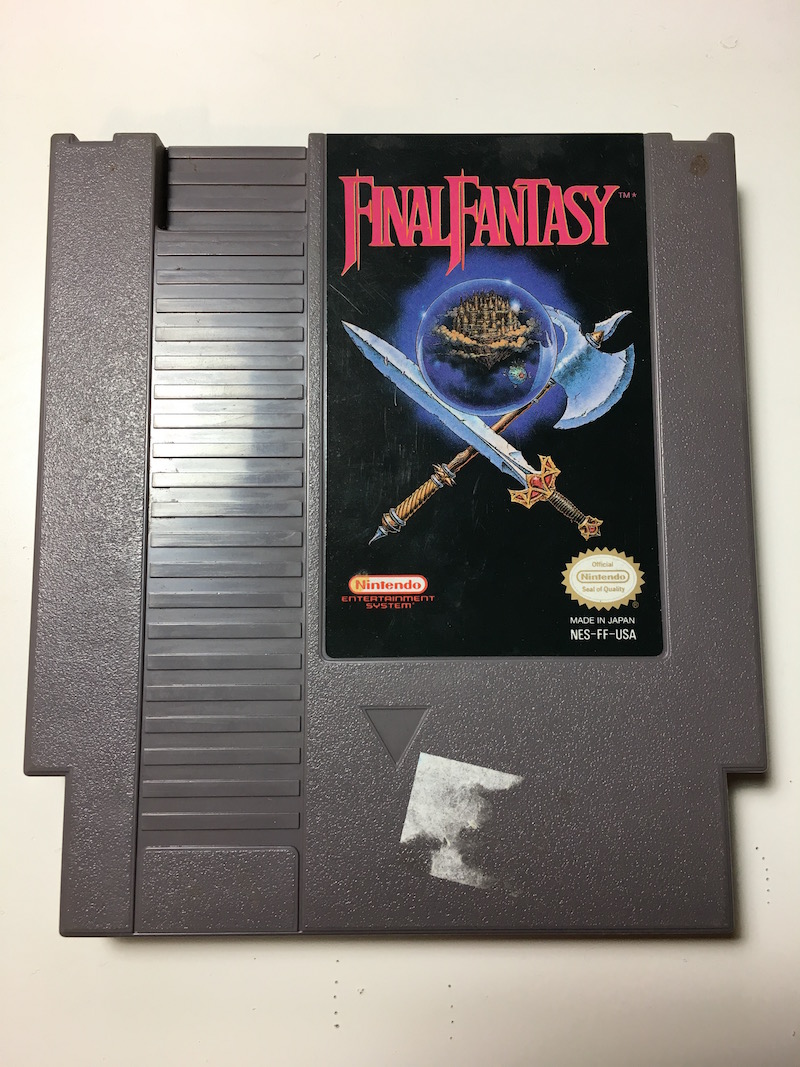
Here we have a shockingly gross looking copy of Final Fantasy. I’m honestly not sure where I got it, but, yikes:

Dry Process
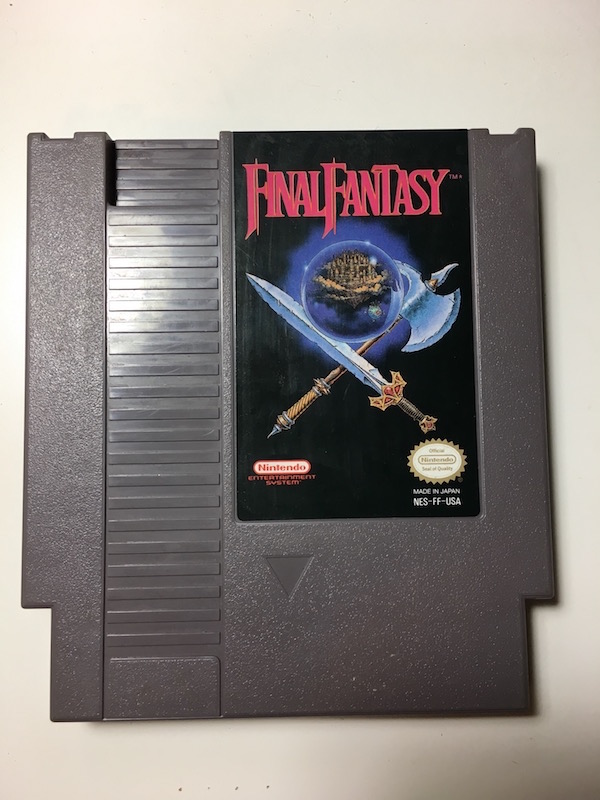
I’d suggest loosening anything on the plastic part of the shell with a toothpick if it doesn’t come off with a dry q-tip. This is surprisingly effective at gently scraping away offensive stuff. On this Final Fantasy cartridge I was able to remove most of the sticker and a chunk of the whatever it is from the casing.
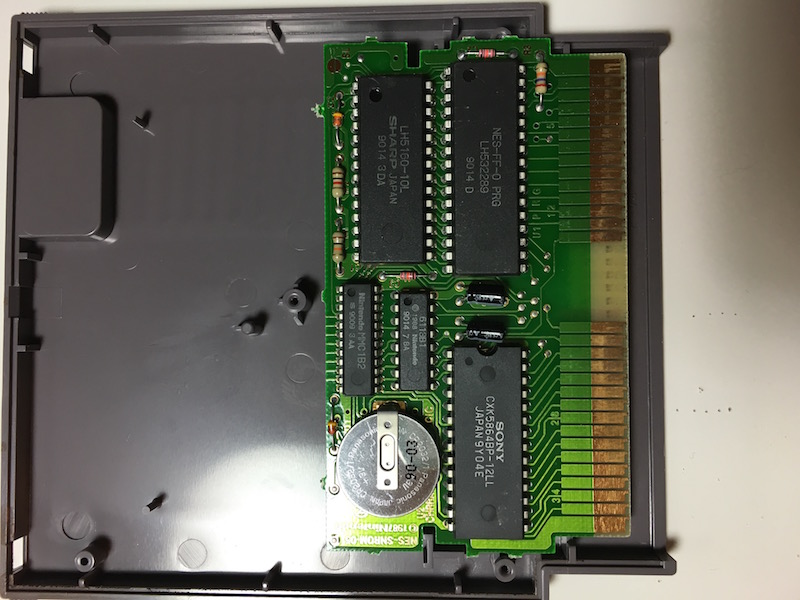
If you can open the cartridge you can use an eraser on the pads as well. Just be careful to clean up the leftover eraser bits after you’re done. If you use one, I’d recommend a separate eraser (the trapezoidal pink ones work well) not one attached to a pencil. You’re liable to slip at some point and you don’t want to gouge the PCB with the metal eraser holder.
Wet Process
Q-tips and isopropyl alcohol. Go with 91%. If you need it fast, it’s easily found anywhere that has a pharmacy. I’d recommend a small bottle if you can. You’re unlikely to run out and a smaller bottle is easier to handle.
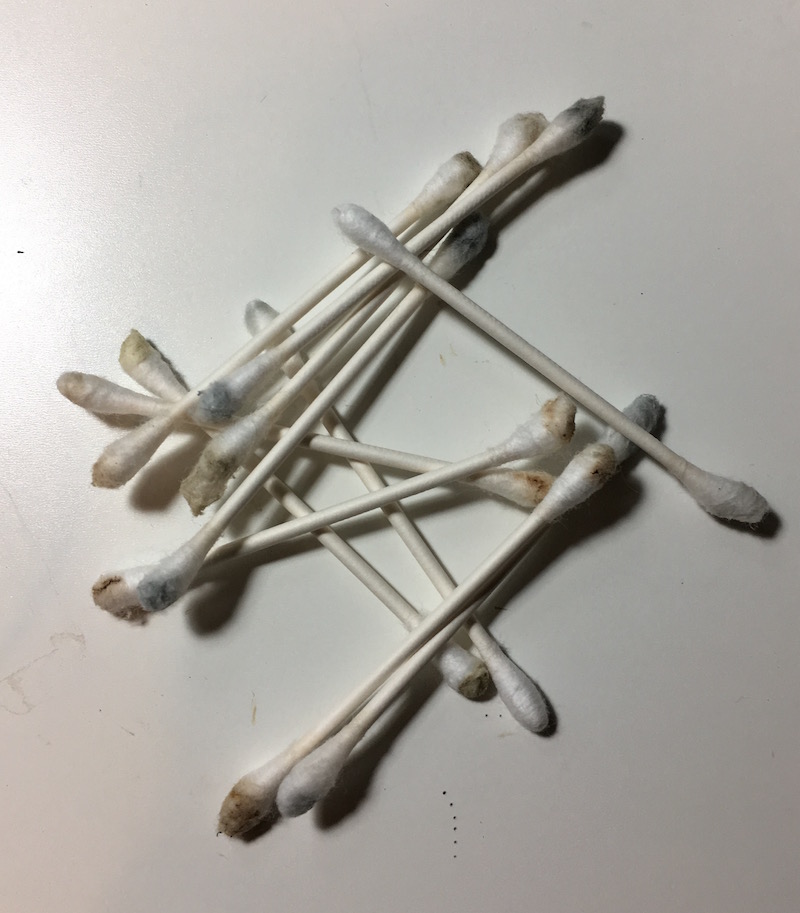
Wet one end of the q-tip in a small amount of isopropyl alcohol. Then rub that on the pads inside of the cartridge. Continue to do this until the q-tips stop coming out with any amount of blackness, or brownness, or grayness. Just white wet q-tip, please.
Depending on the cart this can take a lot of q-tips. Throw on something on netflix and scrub away.
Once you’re done, put it all back together and try it out!
Reference Links
The definitive guide to cleaning is from hardcoregaming101. I haven’t tried Brasso yet, but am planning to on at least one NES cartridge I can’t get to work in any other way: